Introduction
Data protection is critical for any organization running Windows Server. BitLocker Drive Encryption helps secure data by encrypting entire drives and preventing unauthorized access. Whether you’re using Windows Server 2016, 2019, or 2022, enabling BitLocker is straightforward and provides strong protection against data theft.
What Is BitLocker Encryption?
BitLocker is a built-in Windows feature that encrypts your drives using AES encryption. It protects sensitive data from being accessed if a server is stolen or compromised. BitLocker can be applied to operating system drives, fixed data drives, and removable drives.
Prerequisites
Before enabling BitLocker, ensure the following:
- You’re using Windows Server 2008 or later.
- The server has a TPM (Trusted Platform Module) version 1.2 or higher (optional but recommended).
- You have Administrator privileges.
- BitLocker feature is installed.
Step-by-Step Guide to Enable BitLocker on Windows Server
Step 1: Install the BitLocker Feature
- Open Server Manager.
- Click on Manage > Add Roles and Features.
- Select Features, then check BitLocker Drive Encryption.

- Click Next > Install.
- Restart the server if prompted.

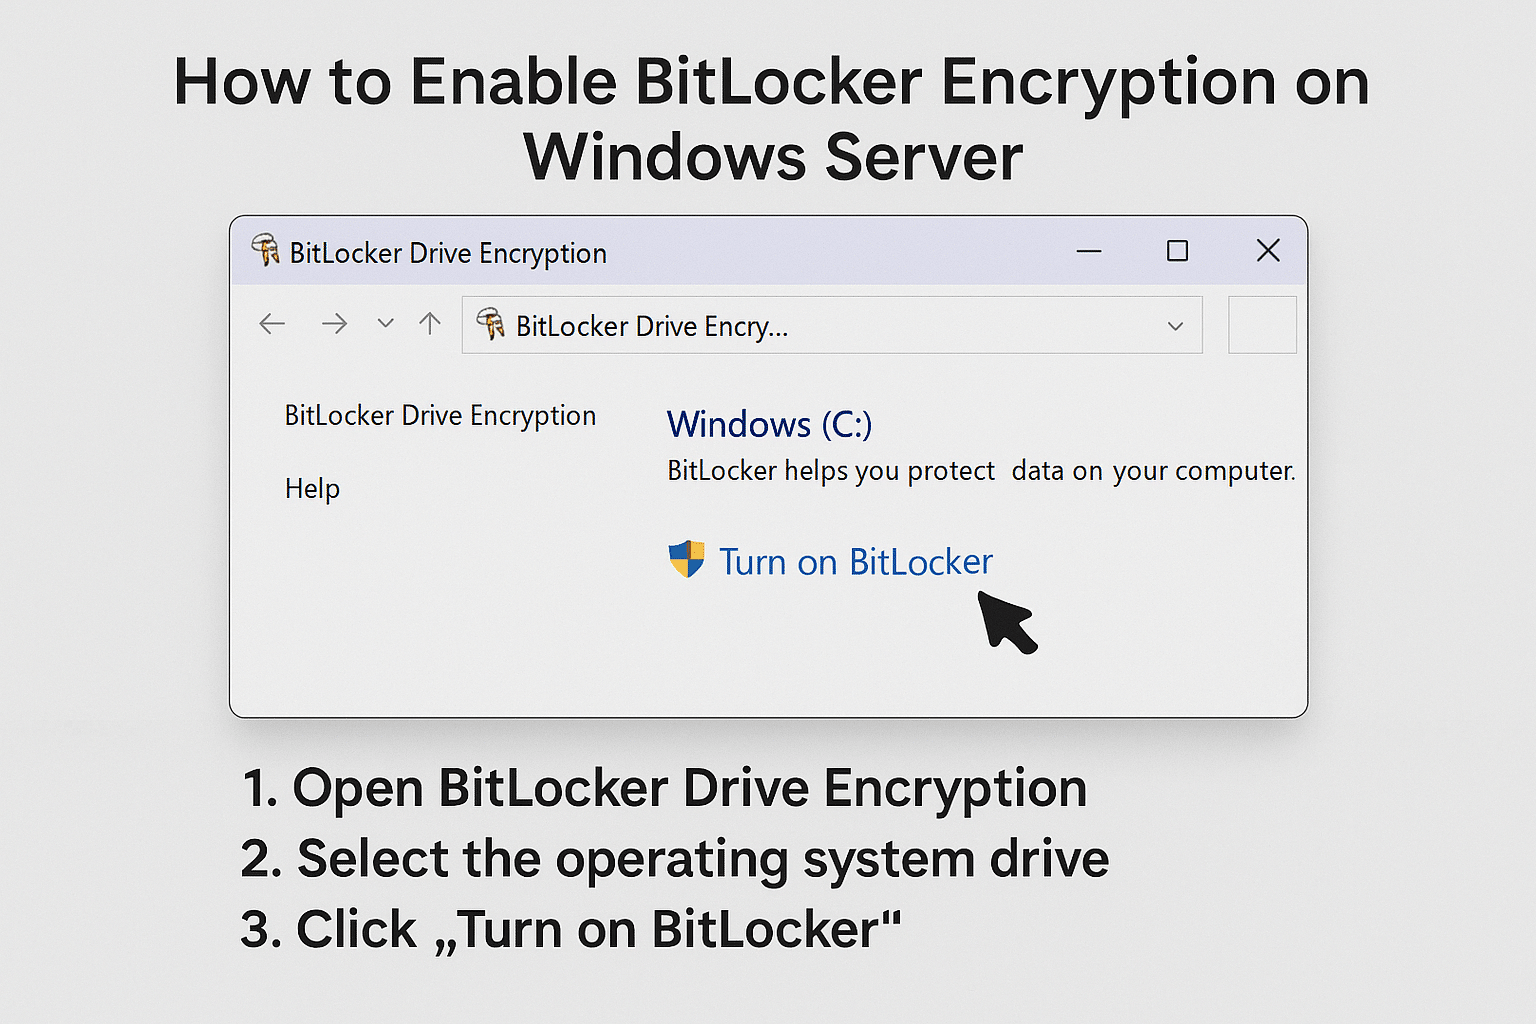
Step 2: Open BitLocker Management
Once the feature is installed:
- Open Control Panel > System and Security > BitLocker Drive Encryption.
- Choose the drive you want to encrypt (usually
C:). - Click Turn on BitLocker.


Step 3: Choose How to Unlock Your Drive
You can unlock your drive using:
- TPM (recommended for servers)
- Password or Startup Key stored on a USB drive
Select your preferred method and continue.
Step 4: Backup Recovery Key
Choose where to save the recovery key:
- Save to a file
- Save to Active Directory (for domain servers)
- Print the recovery key
⚠️ Important: Store the recovery key safely — it’s required if you forget your password or change hardware.
Step 5: Start Encryption
Select whether to encrypt:
- Used disk space only (faster)
- Entire drive (more secure)
Click Start Encrypting. BitLocker will begin encrypting your drive in the background.
Step 6: Verify BitLocker Status
To check encryption status, open Command Prompt (Admin) and run:
manage-bde -status
You should see “Percentage Encrypted: 100%” once complete.
Conclusion
Enabling BitLocker on Windows Server is one of the simplest and most effective ways to safeguard your data. With encryption enabled, your business is better protected from unauthorized access and data breaches.
Enable BitLocker Encryption on Windows Server (F.A.Q)
Can I enable BitLocker without TPM?
Yes, you can enable BitLocker using a USB startup key instead of TPM.
Does BitLocker affect server performance?
Slightly, but modern hardware minimizes the performance impact.
Can I pause or resume BitLocker encryption?
Yes, you can pause and resume encryption anytime using the manage-bde command.
What happens if I lose the recovery key?
You will lose access to the encrypted data, so it’s critical to back it up securely.