A hostname is a label assigned to a device (host) on a network. It distinguishes one device from another on a particular network or the Internet. The computer’s hostname on the home network can be something like New Notebook or FamilyPC. DNS servers also use the hostname, so you can access a website with a common name that’s easy to remember. This way you don’t have to place a string of numbers (IP addresses) to open a web page. The hostname is adjusted while starting the Ubuntu installation, or if you launch a virtual machine, it is dynamically assigned to the instance at startup. In this guide, we will explain to you how to change the hostname on Ubuntu 18.04.
Requirements
- 99RDP Private/Dedicated RDP
- Access to Terminal
Checking Current Hostname On Ubuntu 18.04
Before proceeding with the change let’s check the current hostname specified in the system. To find that run the given command in the terminal.
# hostnamectl
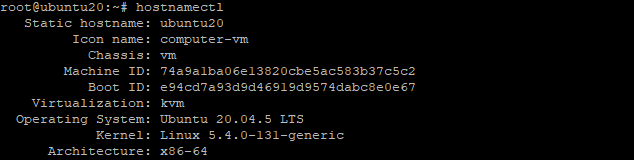
This command will output the current hostname and a bunch of other system details.
How To Change Hostname On Ubuntu 18.04
To change the hostname on Ubuntu you can simply run the given command with your hostname included. Replace 99RDP with your required hostname.
# hostnamectl set-hostname 99RDP
Once the hostname is changed you can verify the changes by opening the given file /etc/hosts. To open the file in a text editor run the given command.
# nano /etc/hosts
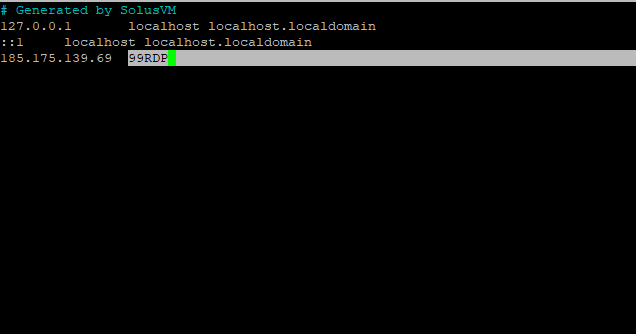
In this guide, we are changing the Hostname from Ubuntu 20 to 99RDP. Once the changes are made save the file.
Preserving The Changed Hostname Using cloud.cfg
By default, Ubuntu will not persist hostname changes and any hostname changes will be lost when the system is rebooted. The reason is because of the new cloud configuration, which sets the value named serve_hostname to false. Cloud-config files are special scripts designed to be run by the cloud-init process. These are generally used for initial configuration on the very first boot of a server.
In order to preserve the hostname check whether the cloud-init process is installed or not. To do that run the given command in the terminal.
# ls -l /etc/cloud/cloud.cfg
If not installed the output will be file does not exist. However to install the given script run the given apt command in the terminal.
# apt-get install cloud-init
Once the script is installed run the ls command again. This time it will return the script path and its permission.
# ls -l /etc/cloud/cloud.cfg

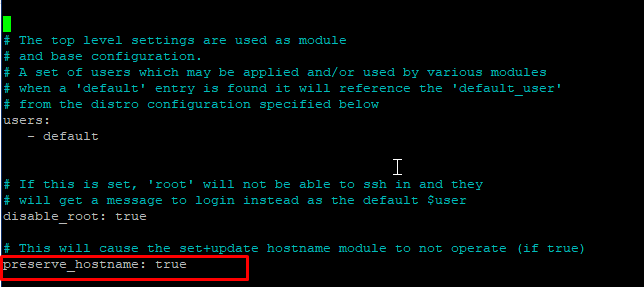
Now open the respected cloud.cfg file using nano or any other editor. We have to change the Preserve Hostname option to TRUE instead of FALSE. To do that open the file using given command
# nano /etc/cloud/cloud.cfg
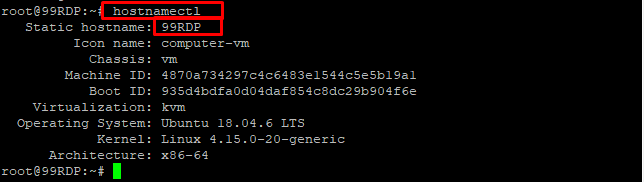
Finally, You may reboot the server and the hostname will not change. To verify the changes run the hostnamectl command again.
# hostnamectl
Conclusion
There are various reasons to change the hostname one of them is instance creation. In this guide, we have explained to you how to change the hostname on Ubuntu 18.04 server without having to reboot the machine. Hope this helps you to successfully configure your server!
Buy Cheap Dedicated RDP @ $37.99/m Only


