A Print Server allows centralized management of printers and their drivers across a network. With Windows Server, you can easily set up a print server to serve multiple client machines, making administration more efficient and consistent.
This step-by-step guide shows you how to install and configure a Print Server on Windows Server 2019, 2022, or similar.
✅ Prerequisites
- Windows Server 2016/2019/2022 installed
- Administrator privileges
- Network-connected printer(s)
- Proper network configuration
🔧 Step 1: Install the Print Server Role
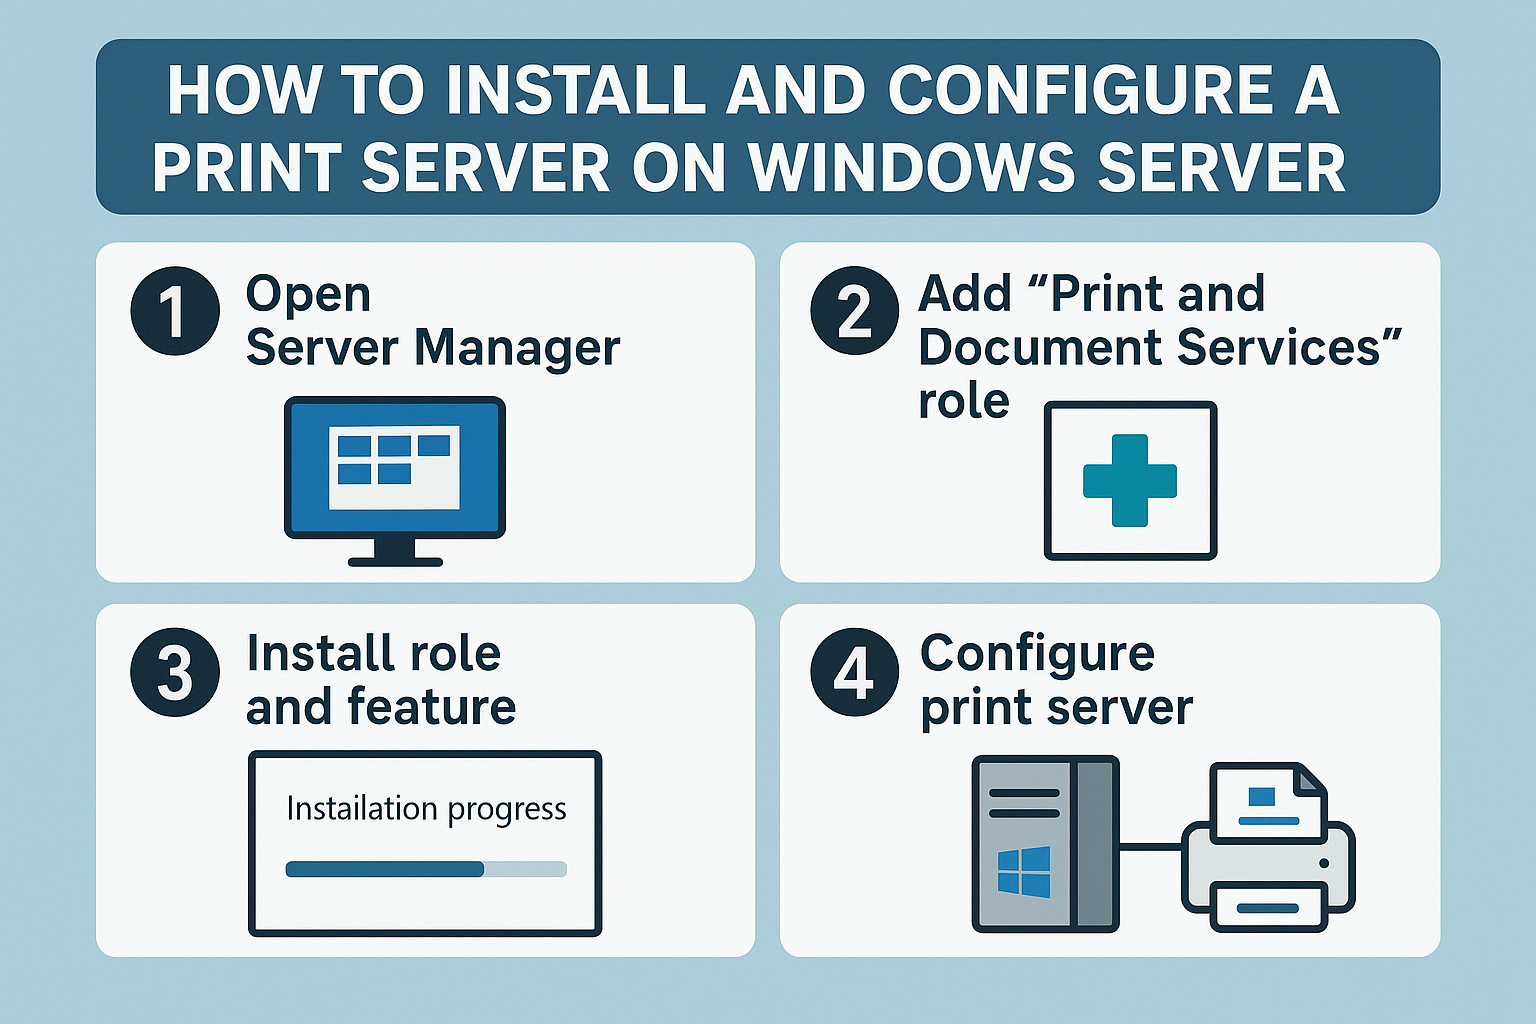
- Open Server Manager.
- Click Manage > Add Roles and Features.
- Choose Role-based or feature-based installation.
- Select your server from the list.
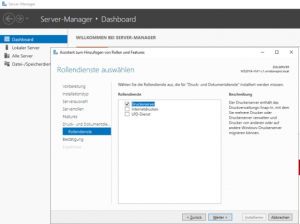
- Under Server Roles, check Print and Document Services.
- Expand the role and check Print Server.

- Click Next and install.
⏳ Wait for the installation to complete. A restart is usually not required.
🖥️ Step 2: Add a Printer to the Print Server
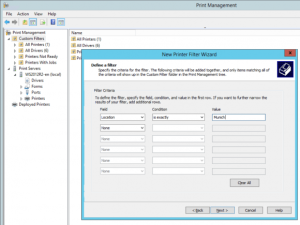
- Open Print Management via:
- Start Menu > Administrative Tools > Print Management
- Or:
printmanagement.mscin Run
- Right-click on Printers under your server name.
- Select Add Printer.
- Choose either:
- Add a new printer using an existing port (e.g., TCP/IP)
- Search the network for printers
- Install the appropriate driver (or provide a driver INF file).
- Give the printer a share name and description.
🌐 Step 3: Share the Printer with the Network
- During printer setup, ensure “Share this printer” is checked.
- Optionally, configure additional settings:
- List in directory (for Active Directory)
- Set permissions (who can print, manage, etc.)
🛠️ Step 4: Set Printer Permissions
- In Print Management, right-click the printer and select Properties.
- Go to the Security tab.
- Add users/groups and set appropriate permissions:
- Manage this printer
- Manage documents
💡 Step 5: Deploy Printer to Clients (Optional)
For domain environments:
- Use Group Policy to deploy printers to users or computers.
- Navigate to:
User Configuration > Policies > Windows Settings > Deployed Printers - Add the printer path:
\\ServerName\PrinterName
🧼 Step 6: Maintain the Print Server
- Regularly update drivers
- Monitor printer queues
- Check event logs for errors
- Use quotas (via third-party tools) if needed
✅ Conclusion
Setting up a print server on Windows Server is a practical way to centralize printing in any networked environment. It reduces overhead and simplifies printer deployment, especially in enterprise settings.
Whether you’re supporting a few printers or dozens, this setup ensures a smooth, scalable print environment.
How to Install and Configure a Print Server on Windows Server (F.A.Q)
Can I connect USB printers to the print server?
Yes, but they must be physically connected to the server and shared from there.
What’s the advantage of using a print server?
Centralized management, easier driver deployment, and reduced client-side setup.
Can I limit access to certain printers?
Yes, by configuring user/group permissions under the Security tab.
Can printers be automatically deployed to users?
Yes, use Group Policy to deploy printers based on users or computers in a domain.


