How to install FileZilla FTP client in Ubuntu 16.04 / 18.04
Today I will show You how to install the FileZilla FTP client program in Ubuntu Linux.
FileZilla is a free and open-source, cross-platform FTP application, consisting of FileZilla Client and FileZilla Server. Client binaries are available for Windows, Linux, and macOS, server binaries are available for Windows only. FileZilla is a powerful and free software for transferring files over the Internet. It is a very popular FTP client and is used by webmasters from all over the world.
Cheapest Dedicated Server Starting @$49.99 Only ➤ ➤➤➤➤ Click Here
Now we can start the installation process, we can install through Ubuntu Software Center or CLI, Let me show you both of them:
Through Ubuntu Software Center:
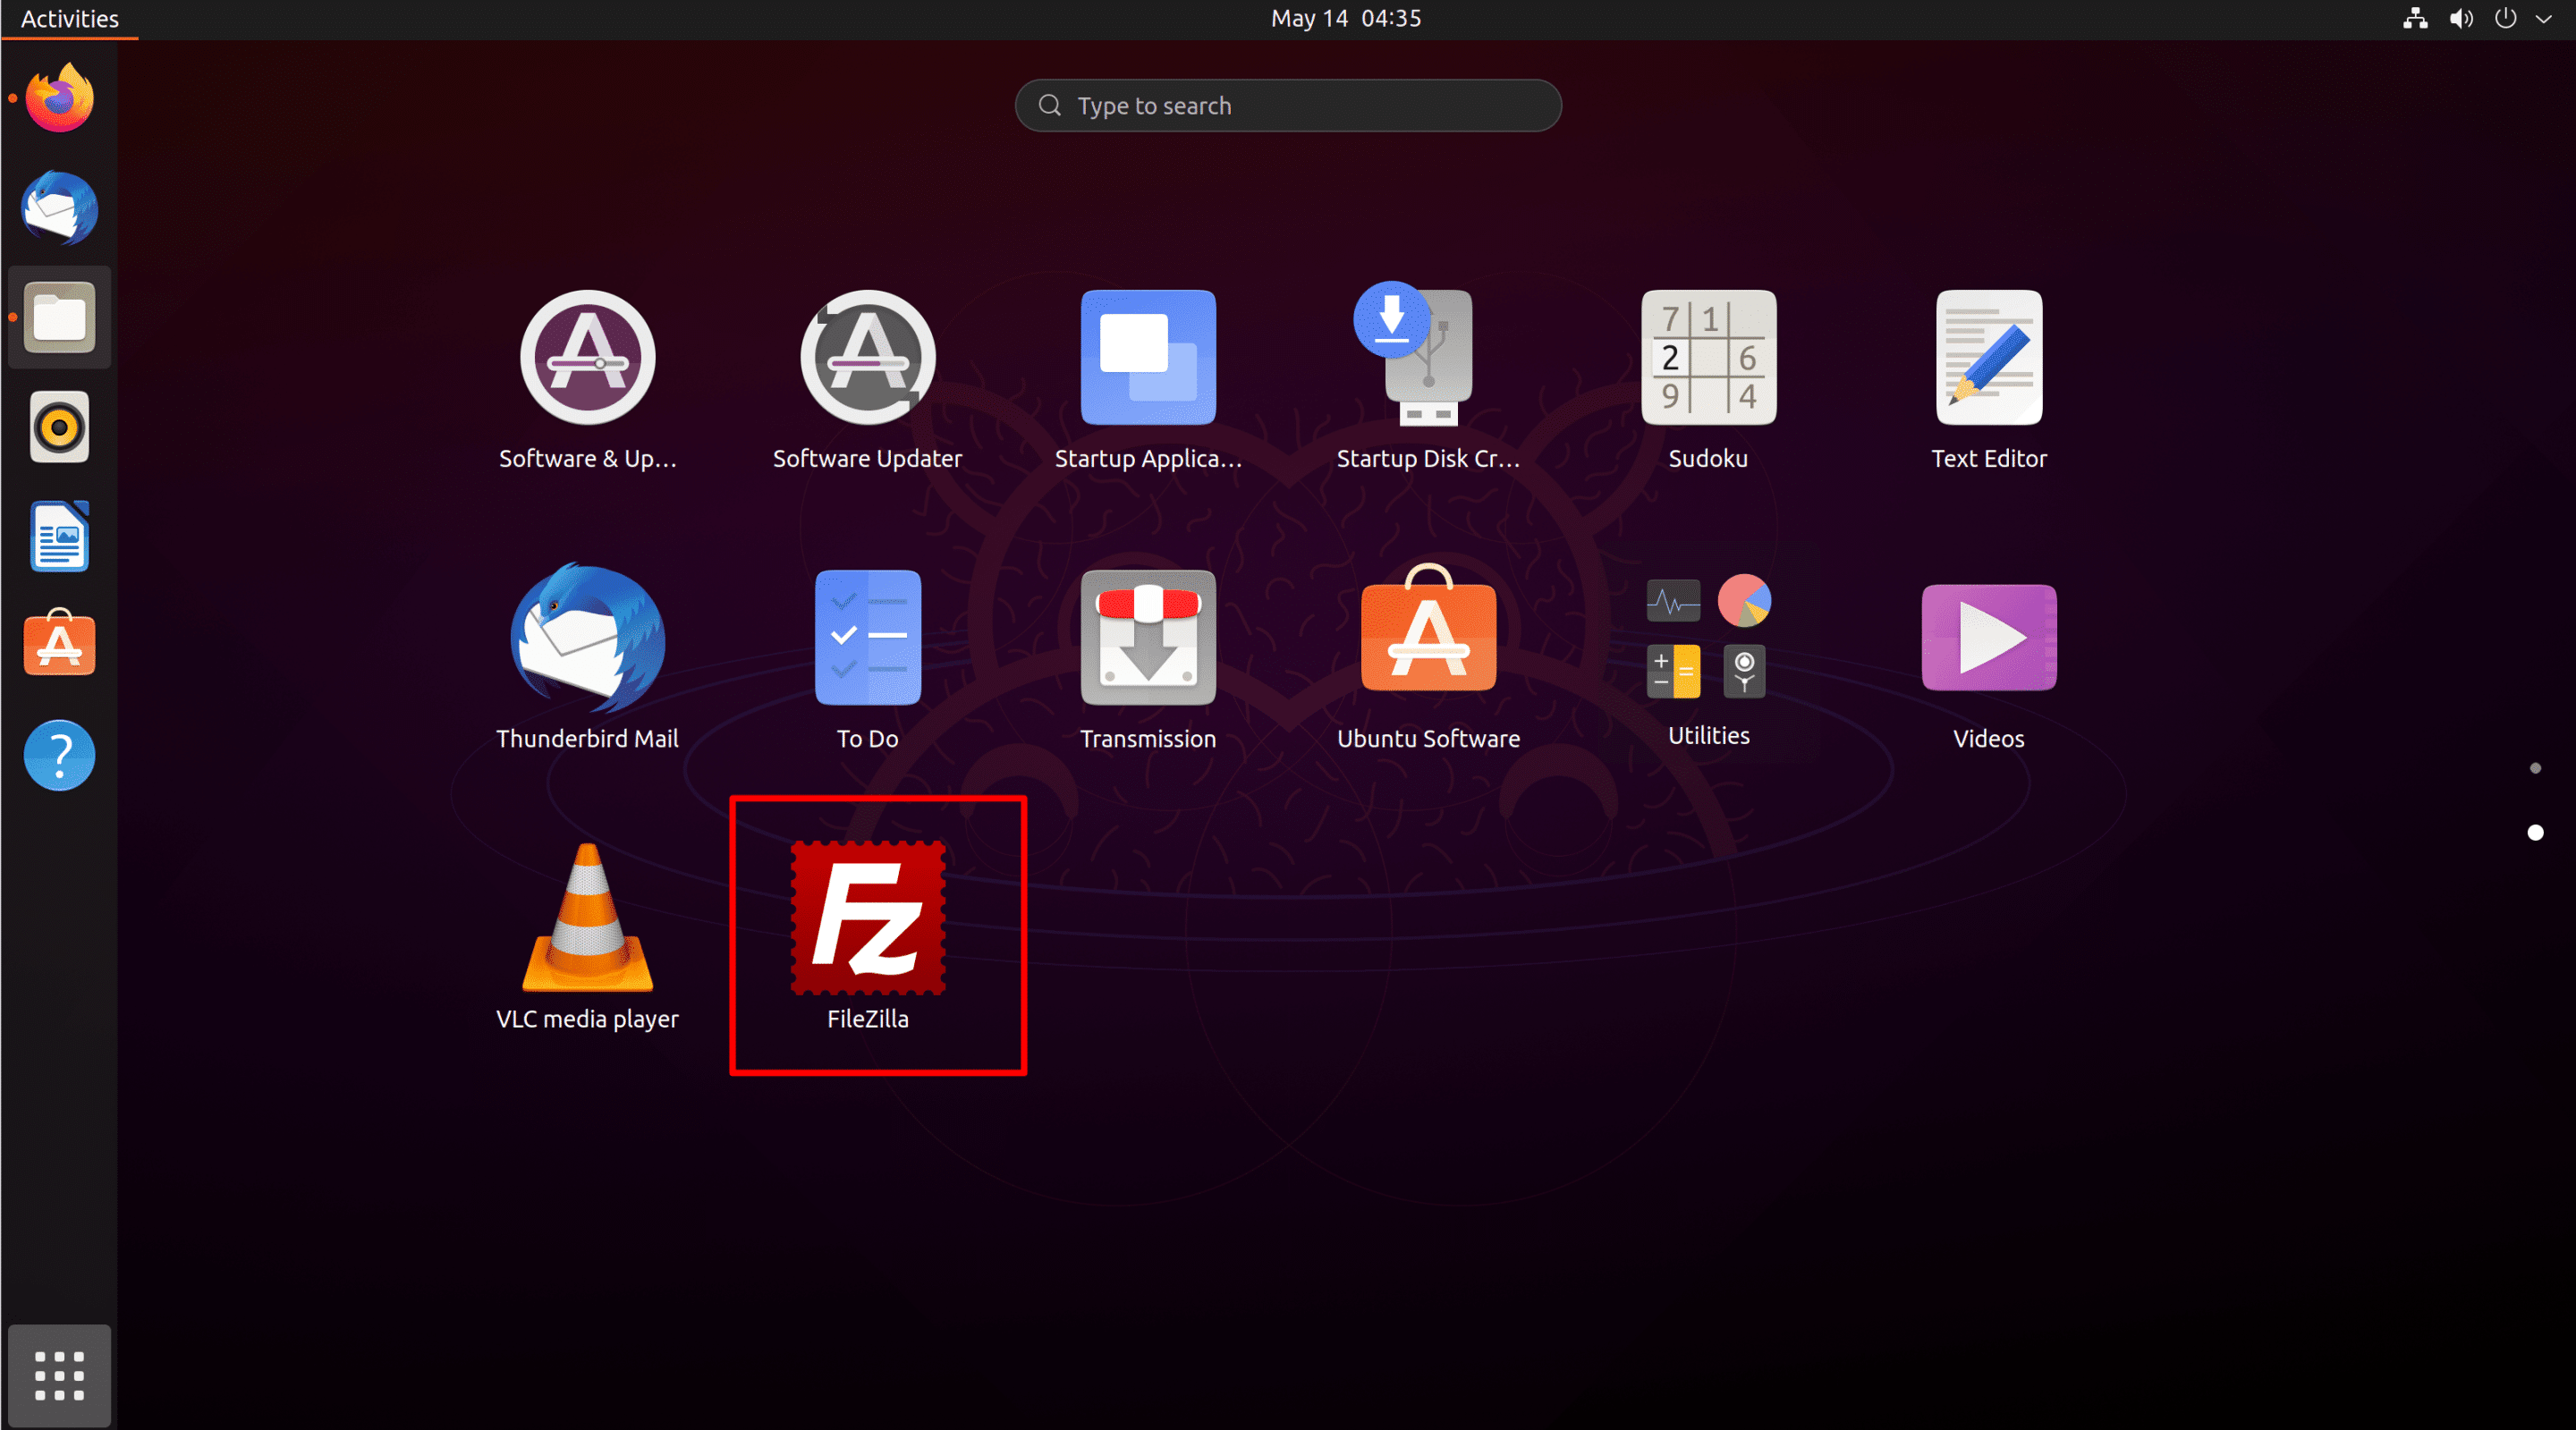
- First Open Ubuntu Software Center.

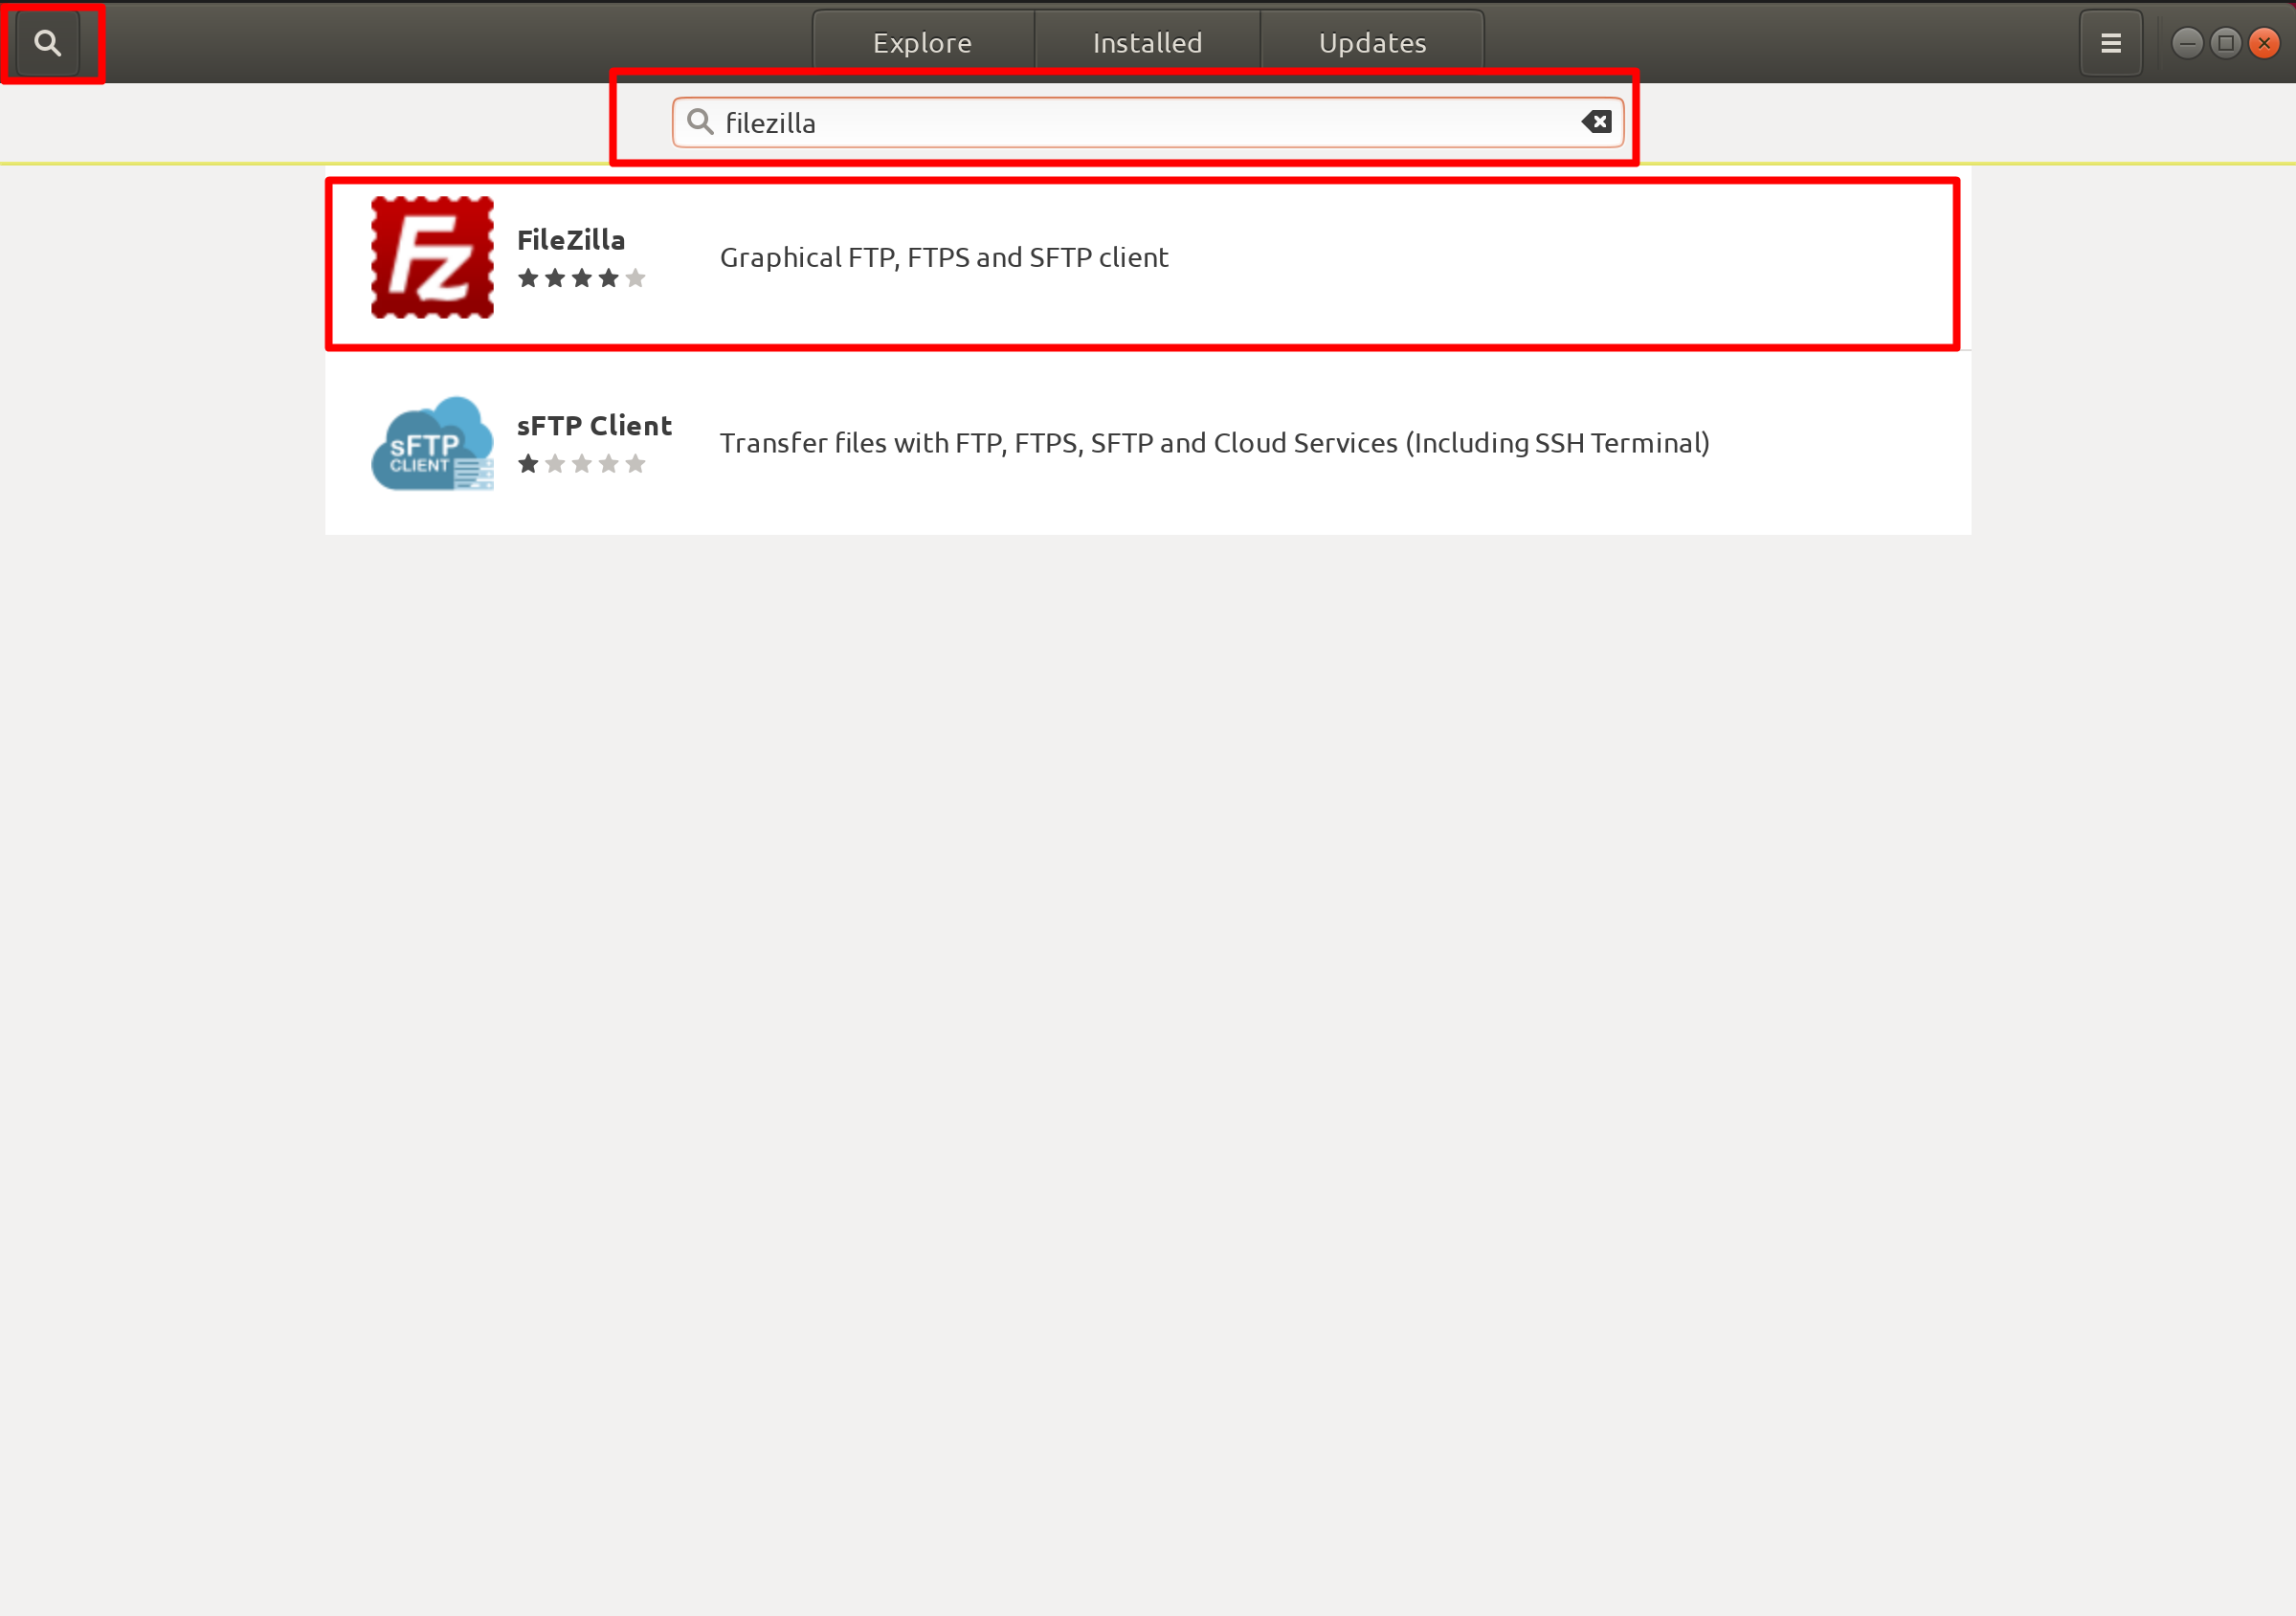
- Now click the Search icon available in the top-right position of the window. In the Search box, search the term FileZilla.
- From search results, click the result that represents FileZilla.
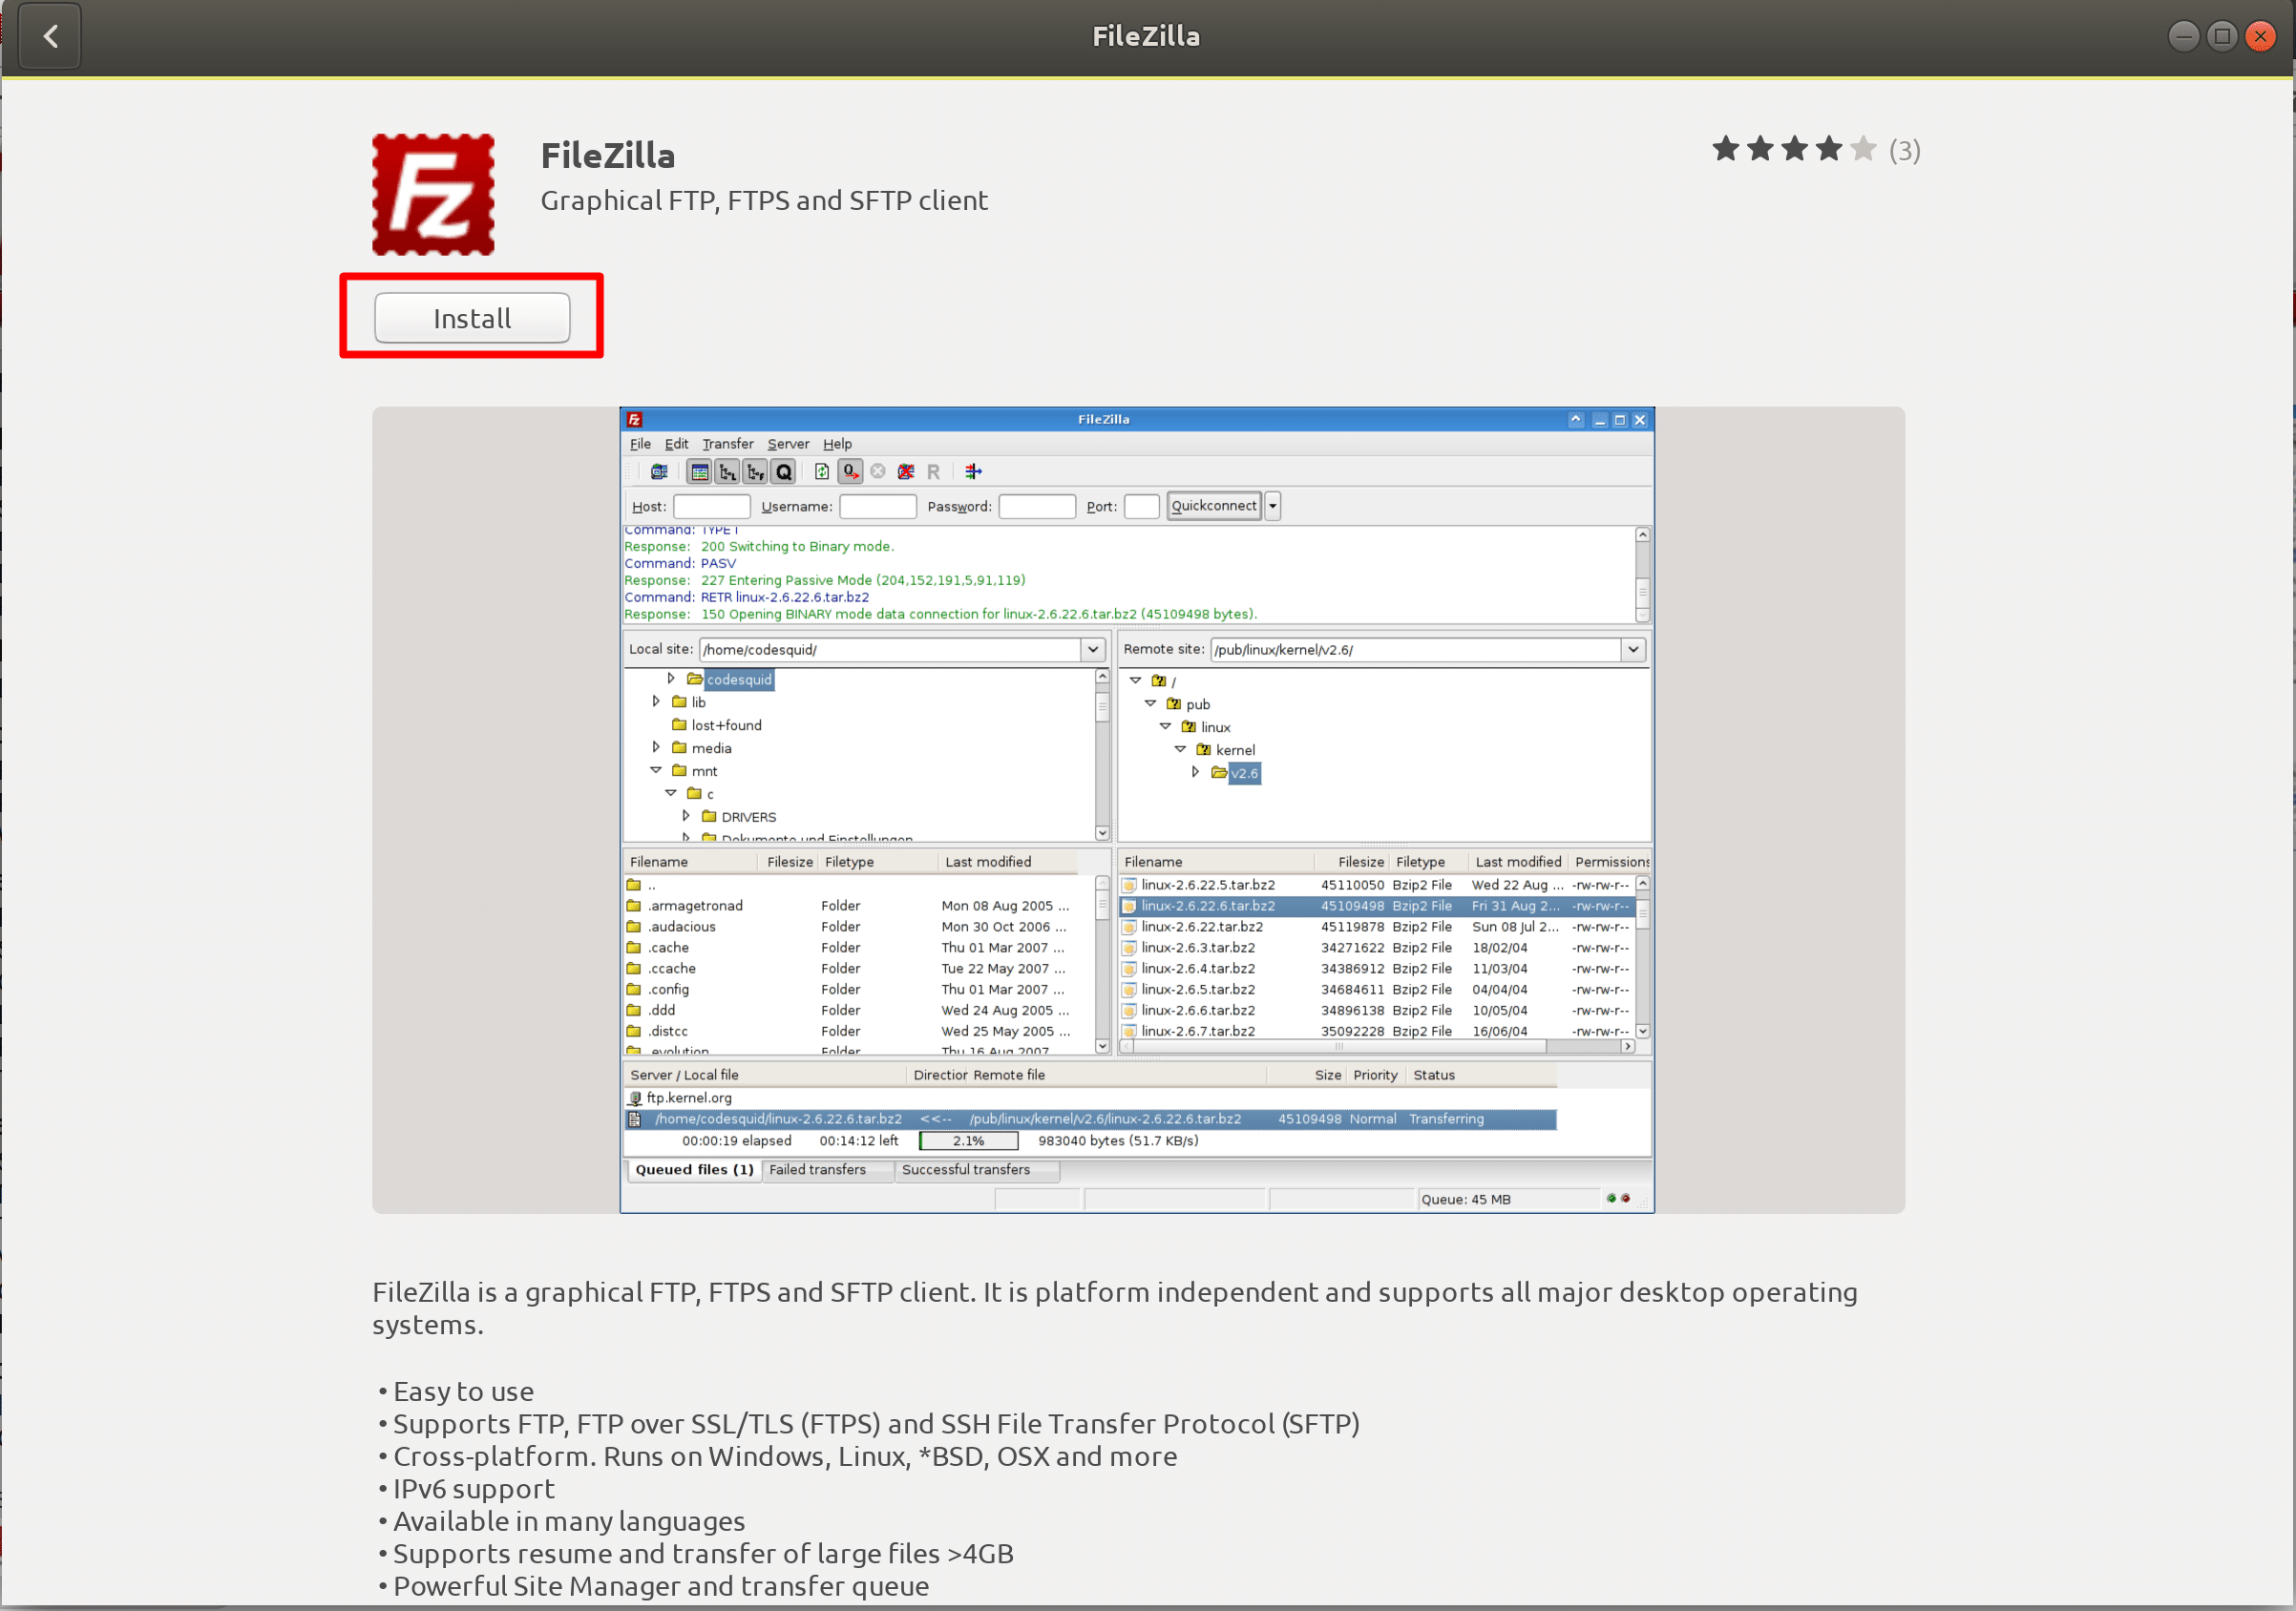
- Now Click the Install button to install the FileZilla.
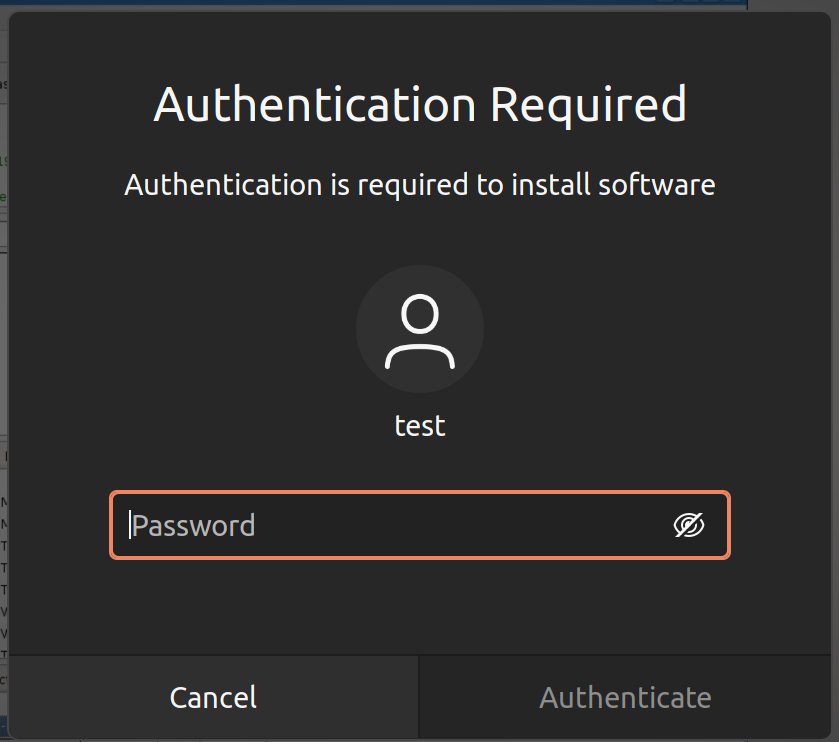
- Now type your password and authenticate.
Through CLI:
- First, make sure that all your system packages are up-to-date
-
sudo apt-get updatesudo apt-get upgrade
-
- Now Simply Open the Terminal.
- Now Type This Command & Press Enter
sudo apt-get install filezilla
- Type Your Password & Enter.
- To confirm the installation, when asked, type y and press the enter key.

- After the installation process, you will find it in your apps