Git is a distributed revision control system. It is a computer program that helps people create other computer programs together. For the same reason, it was made to be fast. It was created by Linus Torvalds for use in developing the Linux kernel which he also created. Git`s current development is looked after by Junio Hamano. It is free and open-source software released under the GNU General Public License version 2 software license. With Git your projects’ documents are maintained in a Git repository. Sites like GitHub and GitLab promote Git improvement and collaboration. Without further ado, let’s proceed with the steps on how to install Git on Ubuntu 18.04.
Requirements
- Root Access
- System Running Ubuntu 18.04
Installing Git On Ubuntu
There are two ways to install Git, we’ll wreck them down one by one, so, you could pick one that’s for you.
- Installing Git with apt: Ubuntu already has Git in the default repository. It can be easily installed with the help of the apt command but the version may not be the latest.
- Installing Git from source: Compile Git from source code this option gives you the latest version.
How To Install Git With apt
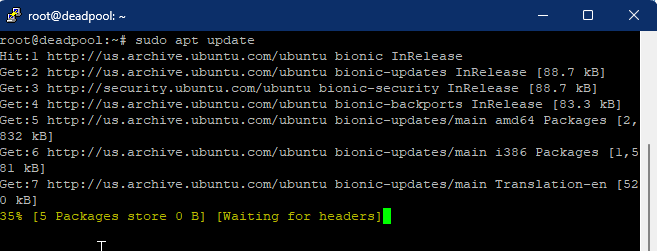
- First login to the root account, open the terminal, and run the given command to update the default repository.
# sudo apt update
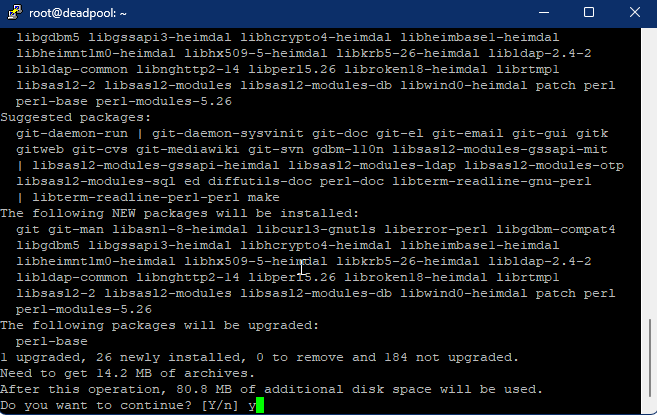
- Further to install Git from the default repository, type in the given command and press enter
# sudo apt install git
- Lastly to verify the process, run the given command to check the Git version. The output will share the program build version for successful installs.
# git –version

How To Install Git From Source
- First, run the given command to install the dependencies required to compile Git from the source.
# sudo apt install make libssl-dev libghc-zlib-dev libcurl4-gnutls-dev libexpat1-dev gettext unzip
- After the installation completes change the directory where you want to download the Git file, using the given cd command.
# cd /usr/src/
- Now browse the Official Git download page and copy the link to the latest version 2.39.0. Run the given command to download the Git source file
# wget https://www.kernel.org/pub/software/scm/git/git-2.39.0.tar.gz
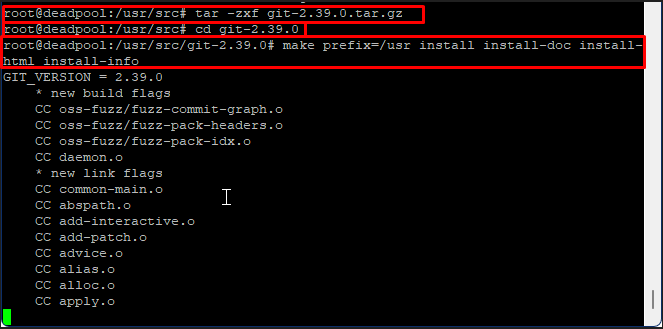
- After the download extracts the tar file using the given command.
# tar -zxf git-2.39.0.tar.gz
- Once the extraction completes move to the folder by using the cd command.
# cd git-2.39.0
- To install the git globally run the given command.
# make prefix=/usr install install-doc install-html install-info
- After that, you can again verify the installation by running the version command.
# git –version

Conclusion
In brief, Git is one of the world’s maximum famous disbursed model manipulation systems. Up against other version control systems, this flexible tool gives many treasured capabilities and permits builders to carry out any code adjustments with the cap potential to revert the adjustments if needed. To conclude this guide explained how to install Git on Ubuntu 18.04 through apt package management and source files. If you’ve got any additional insights or questions, feel free to contact us below.
Buy Cheap Linux VPS With Git Version Control Tool @ Only $7.99/m


