Samba lets you share files and printers between computers running Microsoft Windows or computers running Unix. It is an implementation of dozens of services and dozens of protocols, including NetBIOS over TCP/IP (NBT). Samba sets up a network share of the selected Unix directory (including all contained subdirectories). These appear to Microsoft Windows users as normal Windows folders that can be accessed over the network. Unix users can mount shares directly as part of their file structure. In this guide we will see how to install Samba On Ubuntu 20.04.
Requirements
- 99RDP VPS/Dedicated Server(Running Ubuntu 20.04)
- Access To Terminal
Steps To Install Samba On Ubuntu 20.04
First lets update the system to the latest using the given command.
# apt update && apt upgrade -y
Once the system is updated we can proceed to the next step. Most Linux package managers have Samba in their default repositories. To instal Samba on Ubuntu run the given command in terminal
# apt install samba -y
This will start the installation process for Samba confirming all the requirements. Once the process is finished we can verify the installation using the given command.
# samba -V
Furthermore, you can also check the location where Samba is installed. To do so run the given command.
# whereis samba
Lastly, run the given command to confirm that Samba is running on the system.
# systemctl status smbd
Steps To Create A Shared Directory For Samba On Ubuntu 20.04
Finally in order to share files with Samba we have to create a shared directory that will have files for sharing. Use the given command to create a directory named sambashare.
# mkdir -p /home/sambashare
Steps To Configure Samba On Ubuntu 20.04
Since the application is installed and the shared directory is created we can move to the next step. We have to create a new user and assign it sudo rights, the reason behind this that the new samba user should be a system user to access the service. Subsequently to create a new user run the given command in terminal, next create and verify the password. Following we are going to give him sudo rights and rw permission to the directory sambashare that was created earlier.
# adduser deadpool
# usermod -aG sudo deadpool
# setfacl -R -m “u:deadpool:rwx” /home/sambashare
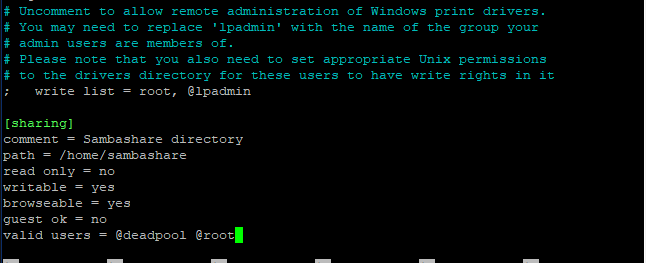
By default the smb.conf file have five columns Browsing/Identification/Networking/Authentication/Misc. We only have to add a new column sharing at the bottom of the file which will contain the path of the directory sambashare and lastly we need to activate the public network in smb.conf file so that the server can reach outside the network. Open the smb.conf file to configure sharing directory for Samba.
# nano /etc/samba/smb.conf
# Add the given line at the bottom of the .conf file
[sharing]
comment = Sambashare directory
path = /home/sambashare
read only = no
writable = yes
browseable = yes
guest ok = no
valid users = @deadpool @root
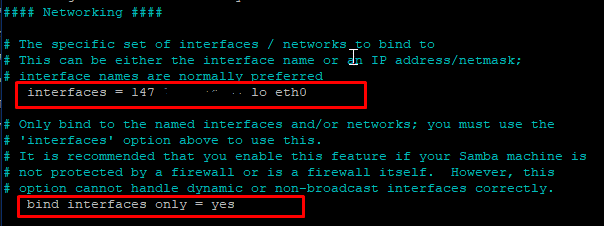
Remove the “;” comments from the interfaces and bind interfaces only.
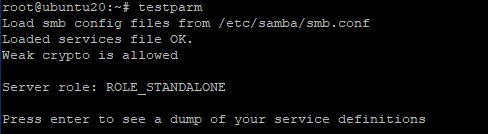
Write the smb.conf file and close the editor. Run the “testparm” to verify any syntax error in the smb.conf file.
# testparm
Next we are going to setup the user deadpool password for Samba using the given command.
# sudo smbpasswd -a deadpool
# sudo smbpasswd -e deadpool

Restart the samba server before verifying the connection.
# systemctl restart smbd
Connect To The Samba Shared Directory
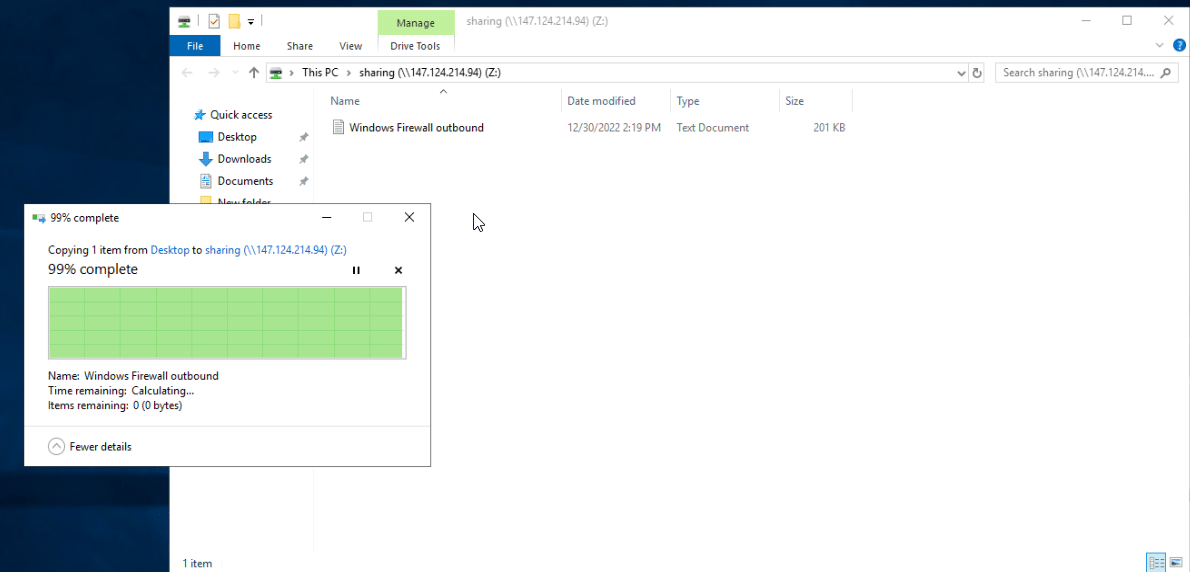
In this guide we will see an example for Windows for Linux and Unix user they have to connect the server and mount the samba directory to the system. In your windows system open This PC/File Explorer and click on Computer>Map network drive. This will open a new wizard, in that enter the server details in the given format “\\SERVER_IP\SHARE” .
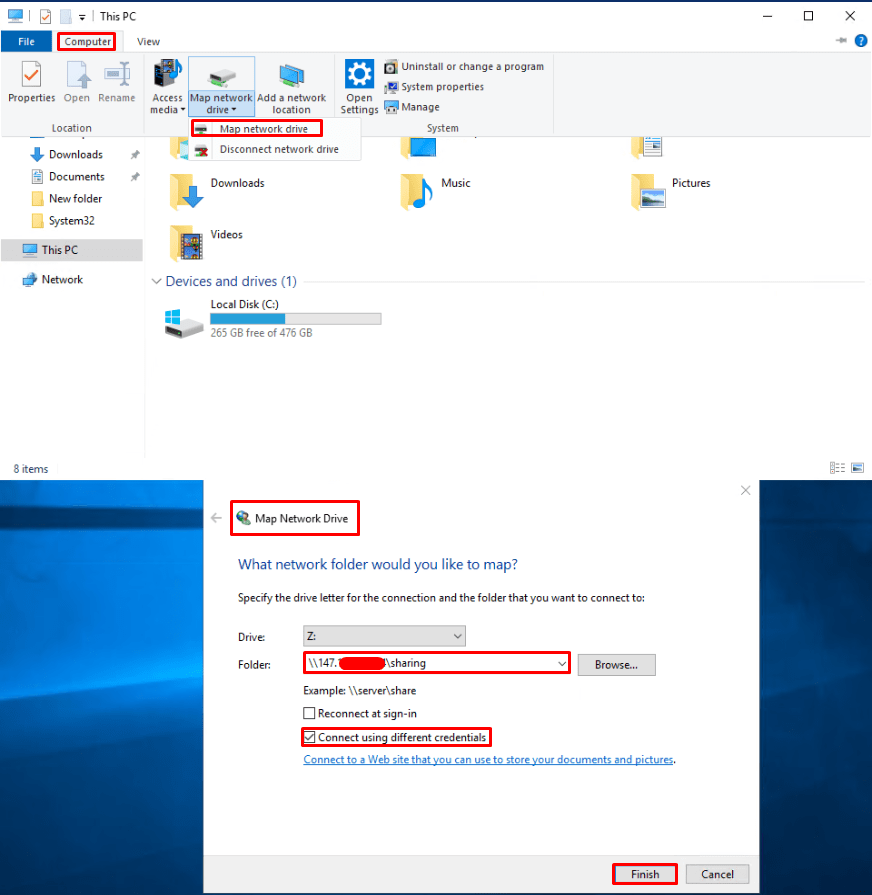
After that click on finish and enter the password for your Samba user. Next, a new network space is maaped to your This PC.
Conclusion
In the guide above, you learned how to install and use Samba to share files and directories between Linux and Windows systems. That’s it! I hope this tutorial helps you set up a Samba server on Ubuntu 20.04.
Buy Samba Server @ $89/m Only.


