Securing your Windows Server is essential to protect your infrastructure from unauthorized access and potential cyber threats. One of the simplest yet most effective ways to improve security is by configuring Windows Firewall rules. The Windows Firewall with Advanced Security (WFAS) allows administrators to control incoming and outgoing traffic, ensuring only trusted connections can access your server.
In this guide, we’ll cover how to set up firewall rules step by step.
Why Windows Firewall Rules Matter
By default, Windows Server allows some connections and blocks others. Without properly configured rules, your server may be exposed to unnecessary risks. Firewall rules help you:
- Block unwanted traffic while allowing legitimate access.
- Restrict services to specific IP addresses or ranges.
- Prevent brute-force attacks by limiting access.
- Comply with security policies for your organization.
Step 1: Open Windows Firewall with Advanced Security
- Press Win + R, type
wf.msc, and press Enter. - This opens the Windows Firewall with Advanced Security console.

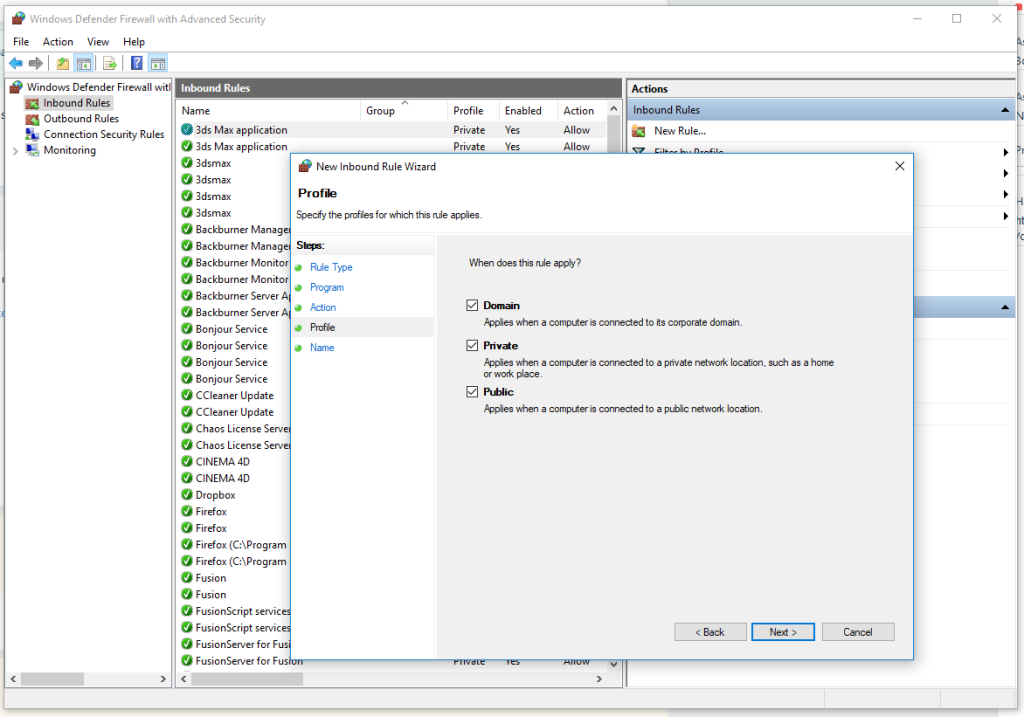
Step 2: Create an Inbound Rule
Inbound rules control traffic entering your server. For example, if you run a web server, you might allow only HTTP (port 80) and HTTPS (port 443).
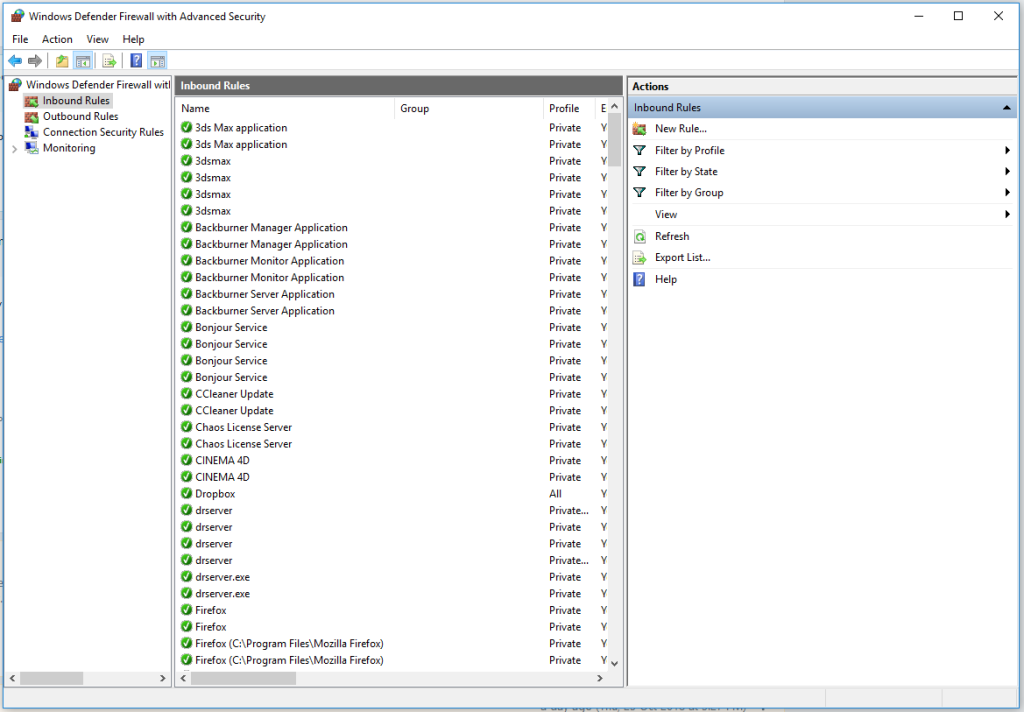
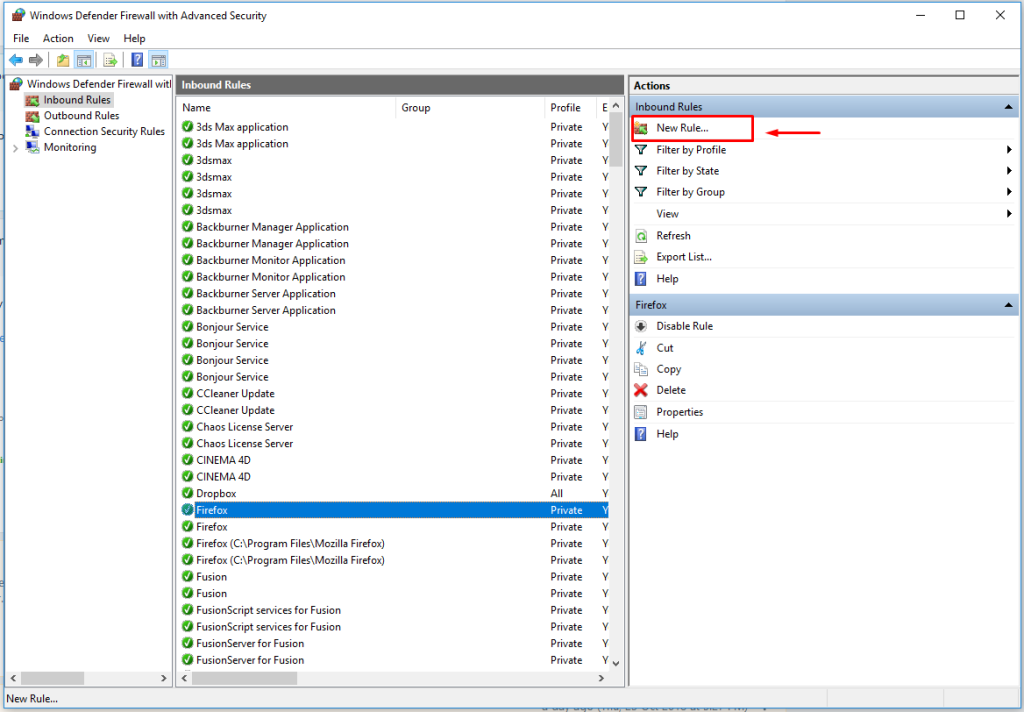
- In the left pane, select Inbound Rules.
- Click New Rule in the right-hand menu.
- Choose Port and click Next.
- Select TCP or UDP, and specify the port (e.g., 80 for HTTP).
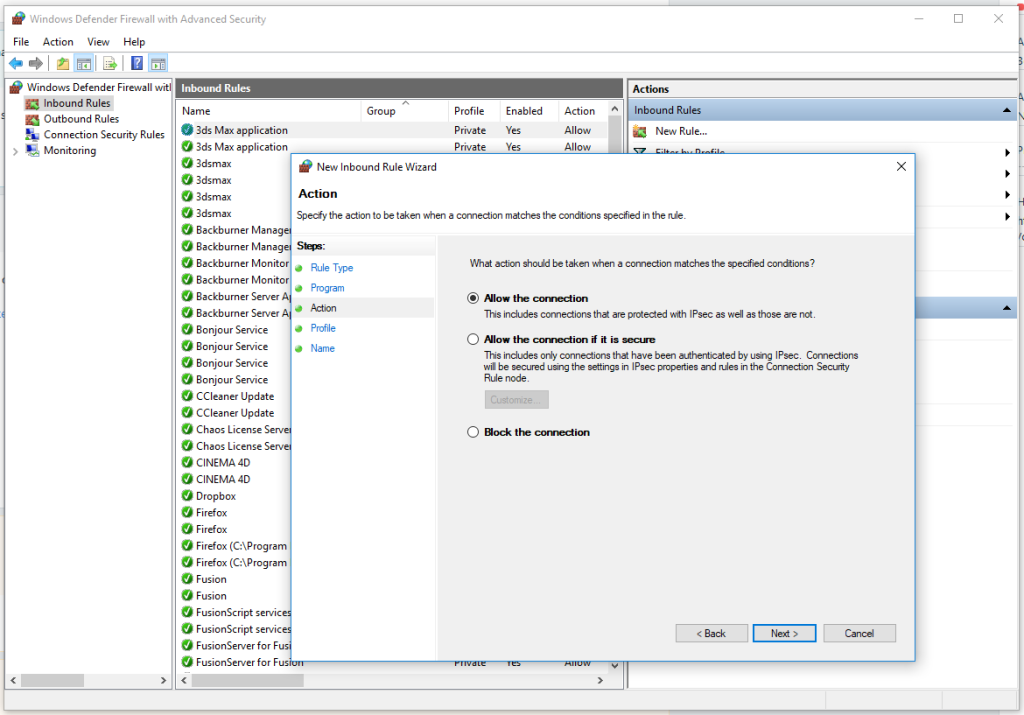
- Choose Allow the connection (or block if required).

- Apply the rule to Domain, Private, or Public profiles as needed.

- Name the rule (e.g., “Allow HTTP”) and click Finish.
Step 3: Create an Outbound Rule
Outbound rules control traffic leaving your server. While many admins leave outbound traffic open, restricting it can help prevent malware from sending data out.
- Select Outbound Rules.
- Click New Rule and repeat the same process as for inbound.
- For example, you could restrict outbound SMTP traffic to prevent spam abuse.
Step 4: Restrict by IP Address
To limit access to specific IP addresses (e.g., only your office network), configure scope settings:
- While creating or editing a rule, go to the Scope tab.
- Under Remote IP Address, select These IP addresses.
- Add the trusted IP(s) or subnet ranges.
Step 5: Monitor and Test Your Rules
- Use Windows Firewall Monitoring in WFAS to view active rules.
- Test connectivity using
telnetorPowerShellcommands. - Always verify that critical services like RDP (port 3389) are restricted to trusted IPs only.
Best Practices
- Disable unused ports and services.
- Regularly audit firewall rules to remove outdated entries.
- Apply the principle of least privilege — only open what’s strictly necessary.
- Use logging to monitor unusual traffic patterns.
Conclusion
Windows Firewall is a powerful built-in security tool for Windows Server. By configuring inbound and outbound rules, restricting IP addresses, and regularly auditing, you significantly reduce the attack surface of your server.
How to Secure Windows Server with Windows Firewall Rules (F.A.Q)
Should I disable Windows Firewall if I have another firewall?
No. It’s best to keep Windows Firewall enabled as an additional security layer, even if you use network-level firewalls.
How do I allow Remote Desktop only for my office IP?
Create an inbound rule for port 3389 and restrict it under the Scope tab to your office IP range.
Do outbound rules matter?
Yes. Outbound rules help prevent malware or unauthorized apps from sending data outside your network.
Can I back up my firewall rules?
Yes. You can export and import rules in the WFAS console, which is useful for disaster recovery or replication.