Nginx, (pronounced as “Engine X”), is an open-source web server often used as a reverse proxy or HTTP cache server. Igor Sysoev developed the software and released it in 2004. It’s free and open-source software, released under the terms of the 2-clause BSD license. A large fraction of web servers uses Nginx, as a load balancer. In today’s world Nginx is one of the most used web servers hosting some of the largest websites. It’s a lightweight web server that can be used to deliver static and dynamic web content. Today, we will discuss how to install the Nginx web server On Ubuntu 20.04 LTS.
Requirements For Nginx Server
- A root Linux VPS running Ubuntu Server 20.04 LTS
- Some basic knowledge of command line use
Update Software Repository
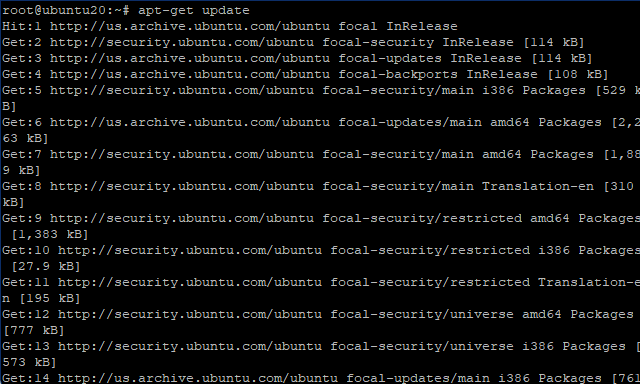
Before proceeding with the Nginx installation, it is necessary to run the repository update for your Ubuntu machine. Run the given command in the terminal to update the list to the latest software and patches.
# apt-get update
Once it is finished run the given command to update the software list.
# apt-get upgrade

Installing Nginx Server On Ubuntu 20.04 LTS
Once the updates are done we can proceed with the installation of the Nginx application, to install the application run the given command in the terminal.
# apt install nginx

Once the process is complete run the given command to verify the installation. This will show the current version of the software installed.
# nginx -v

As you can see Nginx 1.18 is installed. Once the Nginx service is installed we can allow the ufw(Uncomplicated Firewall) to establish rules for Nginx services. To list the ufw configuration app list, type in the given command.
# ufw app list
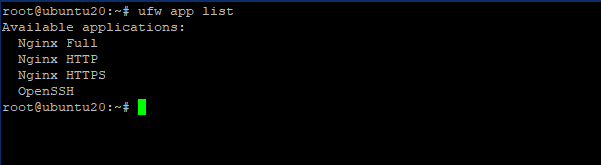
The output shows three profiles for Nginx,
- Nginx Full: This profile opens both port 80 (normal, unencrypted web traffic) and port 443 (TLS/SSL encrypted traffic)
- Nginx HTTP: This profile opens only port 80 (normal, unencrypted web traffic)
- Nginx HTTPS: This profile opens only port 443 (TLS/SSL encrypted traffic)
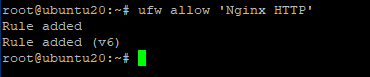
It is recommended that you enable the most restrictive profile that will allow the traffic on the configured way. In this guide we are going to allow HTTP profile at port 80. Enter the given command to allow the Nginx HTTP profile.
# ufw allow ‘Nginx HTTP’
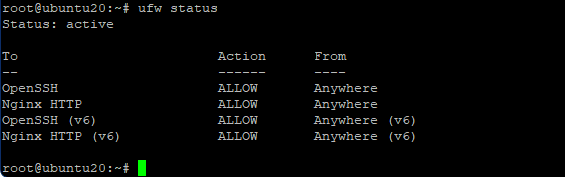
To verify the status, we can run the given command in terminal
# ufw status
The output shows that the firewall is allowing the connection for the given profiles.
Conclusion
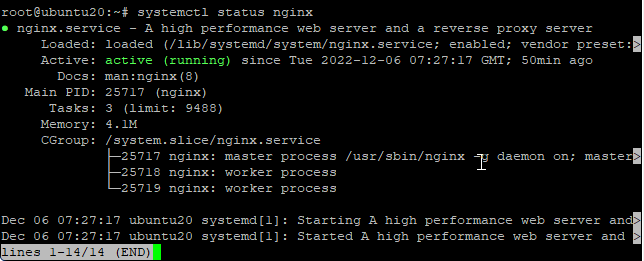
As a result, after completing all the steps, we can check the status of the Nginx Web Server using the given command. In the output, you can see that the server is up and running. However, the best way to test this is to actually request the page from Nginx.
# systemctl status nginx
Further to access the default Nginx landing page, confirm that the software is running properly by navigating to your server’s IP address in a browser.
# http://your_server_ip
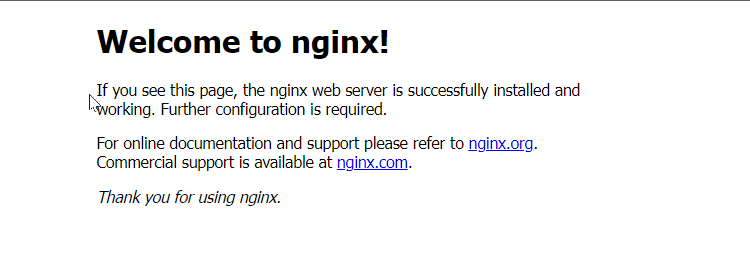 Finally, If you can access your IP with the given page the server is up and running. Next, we will see how to host a website and set up a server block on Nginx. Till then I hope this helps you.