Rust is a multi-paradigm universal programming language. It emphasizes performance, type safety, concurrency, and memory safety This means that all references point to valid memory. It doesn’t require the use of a garbage collector or the reference counting found in other memory-safe languages. Developed by Mozilla and designed by Graydon Hoare, this programming language is syntactically similar to C++. Built on the pillars of data security, concurrency, and speed, Rust is used in a wide variety of software development projects, from browser components to game engines and operating systems. This guide will teach you how to install Rust on Ubuntu 18.04.
Requirements
- Ubuntu System
- Root Access
- Command Line Access
Install Rust On Ubuntu 18.04 Using apt
Before installing Rust on Ubuntu, we need to make sure all system repositories are up to date. To do this, we need to update the default repository using the apt package management service. Enter the following command in the terminal to update the default repository. Remember, the apt repository may not offer the latest available version for Rust-lang.
# sudo apt update
After updating the default repository enter the given apt command to install Rust
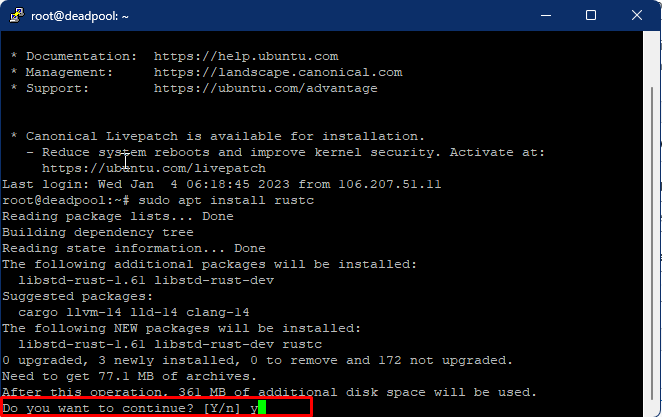
# sudo apt install rustc
Once prompted confirms Yes for additional space requirements.
Once the installation is complete you can verify it by running the given command.
# rustc -V
The output will confirm the rustc 1.61.0 installation.
Install Rust On Ubuntu 18.04 Using rustup Script
There are several ways to install Rust on Linux, however, the most recommended method is using the rustup shell script. This is the recommended way to install Rust on Ubuntu on the official Rust website.
To get the latest version of Rust type in the given curl command in the terminal and press enter.
# curl –proto ‘=https’ –tlsv1.2 -sSf https://sh.rustup.rs | sh
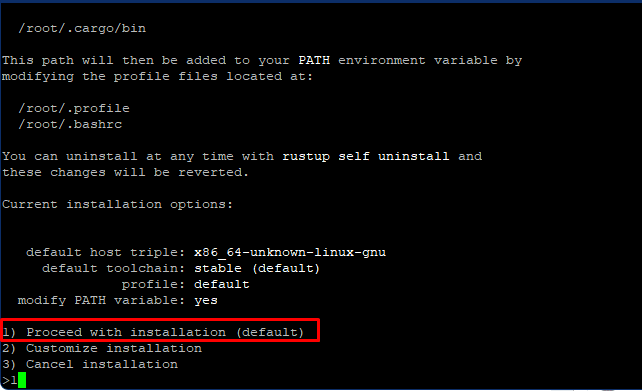
Once the installation starts you will get some options to choose the type of installation you want. If you are familiar with Rust installation you can select the second option to customize your installation. However, for this guide, we are going to select the default installation option and press enter.
Now once the installation is finished we will include the Rust directory in the system PATH. Enter the given command and press enter.
# source “$HOME/.cargo/env”
This will not give any outputs. Finally to verify the installation run the version command again.
# rustc -V
The output will show the Rust-installed version rustc 1.66.0.
Uninstall Rust From Ubuntu 18.04 Using apt
To uninstall Rust using apt manager type in the given command and confirm the prompt.
# sudo apt remove rustc
Uninstall Rust From Ubuntu 18.04 Using rustup Script
To uninstall Rust from your system along with its associated repositories, you need to run the given command. Confirm Yes when prompted.
# rustup self uninstall
To verify the process you can again check the version of Rust but this time the output will be: No Such File or Directory.
# rustc -V
Conclusion
Rust is a multi-paradigm programming language. It was developed as a language for writing powerful and efficient programs. I hope this tutorial explained how to install Rust on Ubuntu 18.04. If you have any comments, questions or suggestions, feel free to contact us.


