In today’s tutorial, we will learn How to install and configure a FileZilla Server on Windows. FileZilla is a free and open-source, cross-platform FTP application, consisting of FileZilla Client and FileZilla Server. Clients are available for Windows, Linux, and macOS, servers are available for Windows only. Both server and client support FTP and FTPS, while the client can, in addition, connect to SFTP servers.
Download Filezilla Server
- First Open your Desired web browser.
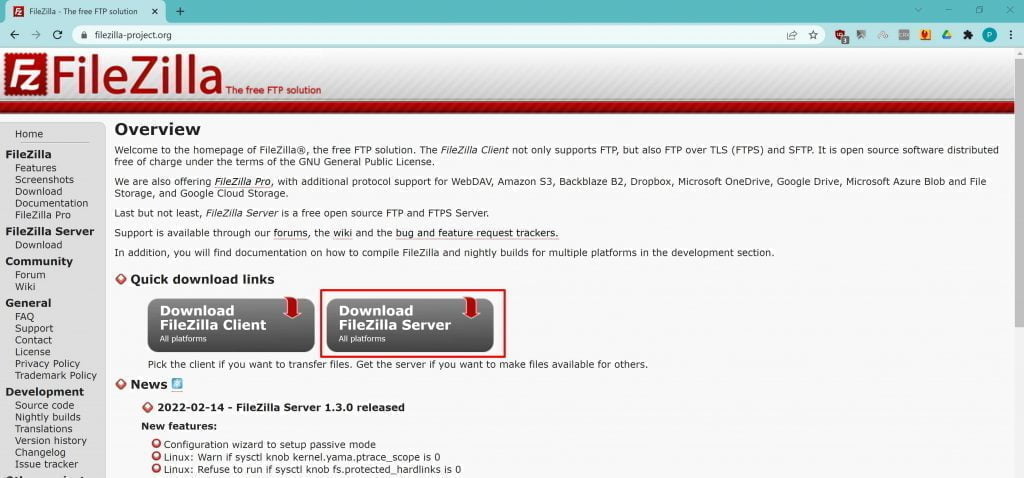
- Now Go to Filezilla Official Site – FileZilla-project.
- Now Click on the Download FileZilla Server.

- It will redirect you to the new Download Page.

- Click on again Download Filezilla Server.

- It will start downloading the Filezilla setup file.


Install Filezilla Server
- After finishing the download process open your desired download folder.
- Open the Filezilla setup file as an administrator.

- I will prefer you to go through the default installation process.
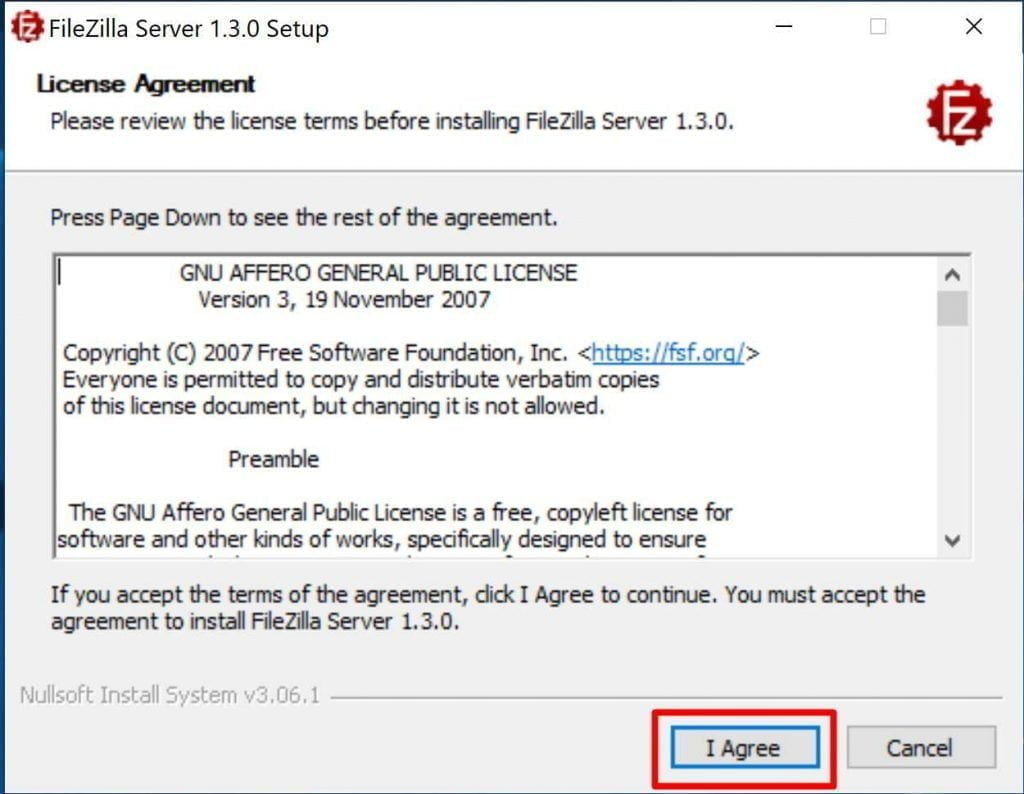
- Accept the License Agreement by clicking on “I Agree” as shown below.

- In the “Choose Components” window, Select Full then click on Next to continue.
- Now select the Destination file path you wish to install it to and click next.

- you can go through the default installation path, just click on Next to continue.
- In the “Choose Start Menu Folder” window, click on Next.

- Now in the next window just click on next.
- In the “Admin Settings”, go with the default settings as shown below. Click on Install as shown below.
- As you can see, the setup is complete. Click on close to close the setup wizard.


Configure Filezilla Server
- After finishing the installation, it will open Filezilla Server Interface Automatically.
- Now click on Connect to Filezilla FTP Server and click the OK button.
- Let’s click the server menu and go to the Configure settings.
- Next, Click on the Passive Mode Option.
- Now Select use custom port range.
- Let’s give your desired custom port range.
- Like from 50000 to 51000.
Configure the Firewall
- To connect to Filezilla Server, we need to Create an Inbound Rule for Filezilla Server.
- We will do this through Powershell.
- Let’s open Powershell as Administrator.
- In the Windows Search bar type Powershell
- Next, right-click the Windows PowerShell app in the search results.
- Then click “Run as Administrator” in the menu that appears.
- Now type this command and press enter
New-NetFirewallRule -DisplayName “Allow FillZilla” -Direction Inbound -Action Allow -Protocol TCP -LocalPort 21,50000-51000
- It will create an Inbound rule in Firewall.
- That’s it.
- Now your Filezilla server is ready for connecting.


