Apache HTTP is free, open-source, cross-platform web server software released in 1995. It was quickly overtaking NCSA HTTPd as the dominant web server. In 2009 it was the first web server software to serve over 100 million websites. In addition, Apache played a vital role in the early growth of the World Wide Web. Next, the Apache server project came which is an effort to develop and maintain an open-source HTTP server for modern operating systems including UNIX and Windows. The goal of this project is to provide a secure, efficient, and extensible server that provides HTTP services in sync with the current HTTP standards in any case. According to W3Tech’s June 2022 review of all websites. Apache was ranked second with 31.4% of websites. In this guide, we will learn how to install Apache web server on Ubuntu 18.04.
Requirements
- 99RDP Server Running Ubuntu 18.04
- Terminal Access
How To Install Apache Web Server
Before proceeding with the installation let’s update the current meta packages for the system. Firstly open the terminal and type in the given commands one by one to update the current software packages and repository database.
# apt-get update
# apt get upgrade
Once the update is finished enter the given command to install the Apache web server. And confirm the optional software download dialogue, by typing in y, and let it finish.
# apt-get install apache2
After the process is finished verify the installation by accessing the 99RDP server IP in a Web Browser.
http://99RDP server IP
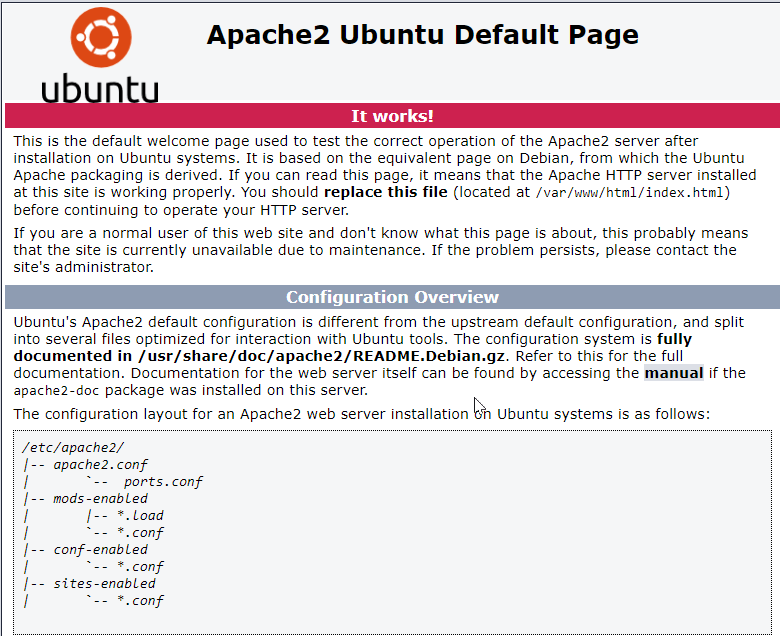
If you see the above page, it means Apache was successfully installed on your server. let’s continue.
Configuring Firewall For Apache Web Server
In order to allow outside traffic to access the web server we have to adjust our existing firewall rules. To display the list of apps in ufw type in the given command in the terminal.
# ufw app list

Since we haven’t configured SSL for the server we will only allow normal web traffic on port 80. Enter the given command to allow the unencrypted web traffic to the app list.
# ufw allow apache
in addition, to verify that the app is added to the allowed list check the firewall status by running the given command.
# ufw status
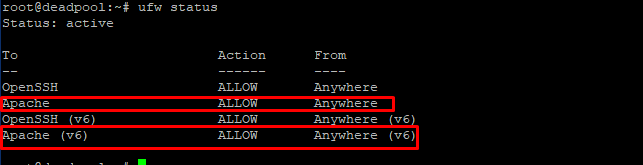
As shown by the output, the app rule has been added to allow access to the Apache web server.
Managing Apache Web Server Services
Now that the web server and firewall rules are allowed, let’s review some basic management commands for Apache using systemctl.
systemctl stop apache2: stop the Apache service.

systemctl start apache2: simply start the Apache service.

systemctl restart apache2: to stop and start the Apache service.

systemctl status apache2: check the current running status of Apache service.

systemctl reload apache2: reload the new configuration changes to Apache service.

systemctl disable apache2: disable the automatic startup for Apache when the system boot.

systemctl enable apache2: re-enable the service to start up at boot.
Conclusion
In this guide, we explained how to install and configure ufw for Apache web server on Ubuntu 18.04. Finally, at this point, you can effectively host multiple websites or serve any content from your Ubuntu server. If you have any feedback, queries, or suggestions, reach out to us in the comments below.


