Nginx [engine x] is an HTTP and reverse proxy server, mail proxy server, and general-purpose TCP/UDP proxy server originally written by Igor Sysoev. It has been running for a long time on many Russian sites with heavy loads: Yandex, Mail.Ru, VK, and Rambler. According to Netcraft, as of December 2022, Nginx served or proxied 21.25% of the top traffic websites. It also has the ability to serve static resource requests faster than Apache, allowing you to balance requests and strategically improve performance and resource utilization. This guide will explain to you how to install the Nginx web server on Ubuntu 18.04 system.
Requirements
- Server Running Ubuntu 18.04
- Root Access
- Terminal Access
Steps To Install Nginx Web Server on Ubuntu 18.04
- SSh into the server and update the default repository using the given command.
# sudo apt update
- Once the update is finished run the given command to install Nginx from the apt repository.
# sudo apt install nginx
- After the installation is complete, run the given command to check the status of the Nginx process.
# sudo systemctl status nginx
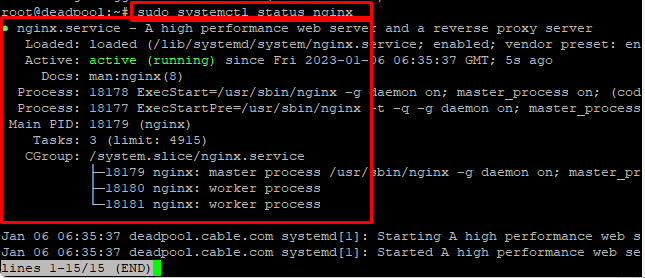
The output will generate details about the Nginx process however if the process is not running try starting it with the given command.
# sudo systemctl start nginx
# service nginx start
This will start the Nginx process if it’s not running.
Basic Commands to Stop And Start Nginx Services
# sudo systemctl stop nginx: Stops the Nginx service
# sudo systemctl enable nginx: Enables Nginx to load at startup
# sudo systemctl disable nginx: Prevents Nginx from loading at startup
Configure Firewall To Allow Nginx Traffic
Before testing Nginx, you should adjust the firewall software to allow access to the Nginx service. Nginx is registered as a service with ufw during installation, so you can easily grant access to Nginx. To generate the list of apps that is allowed by firewall type in the given command.
# sudo ufw app list
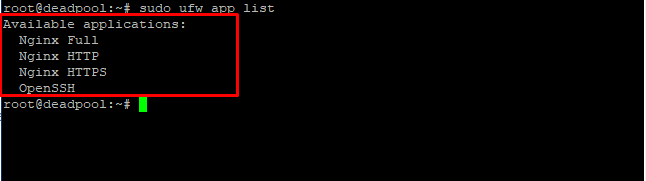
Nginx Profiles
Full: This profile opens both port 80 (normal, unencrypted web traffic) and port 443 (TLS/SSL encrypted traffic)
HTTP: This profile opens only port 80 (normal, unencrypted web traffic)
HTTPS: This profile opens only port 443 (TLS/SSL encrypted traffic)
This command will generate the list of apps that can access the firewall rules. Within the list, there are three profiles of Nginx. In this tutorial, we are only going to allow the Nginx HTTP profile to access port 80. Enter the given command to allow Nginx HTTP traffic from the firewall.
# sudo ufw allow ‘Nginx Http’
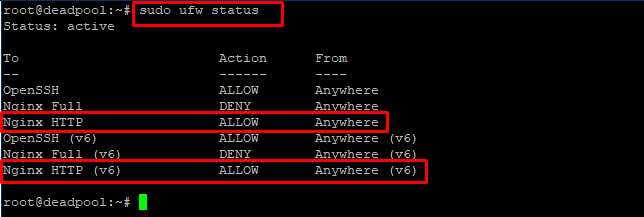
Now you can check the status of the firewall. It should display a list of traffic allowed to different services.
# sudo ufw status
Test Nginx In The Browser
Open a web browser such as chrome and enter your server IP in the address bar. The browser will output an Nginx welcome screen.


