OpenSSH (OpenBSD Secure Shell) is a suite of security tools based on the Secure Shell protocol. Firstly it acts as a secure channel over an insecure network in a client-server architecture. OpenSSH started as a free product of the SSH program developed by Tatu Ylönen. OpenSSH was first released in 1999 and is currently being developed as part of the OpenBSD operating system. The whole suite is not a single computer program, but a set of programs that act as an alternative to unencrypted protocols such as Telnet and FTP. It is built into several operating systems (Microsoft Windows, macOS, and most Linux Os). Also, have a portable version for other systems.
Windows Server 2019 and the latest version of Windows 10 include the ability to install both an SSH client and an SSH server. Since most of us work with mixed systems. We are only familiar with SSH entry into a server or device to perform administrative tasks. Now available in Windows Server 2019 and easier to configure, you can use other remote connections as the default method to remotely connect to your server, regardless of whether it’s nearby or running in Azure. I’m using SSH instead of other methods.
Requirements
- Deploy a Windows Server 2019 or 2022 Server at 99RDP.
- Connect to the server with RDP.
OpenSSH Installation Using GUI
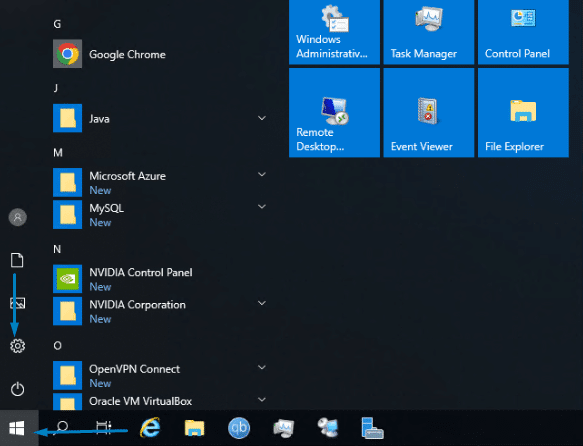
- Open the Windows Start menu and click on Settings.
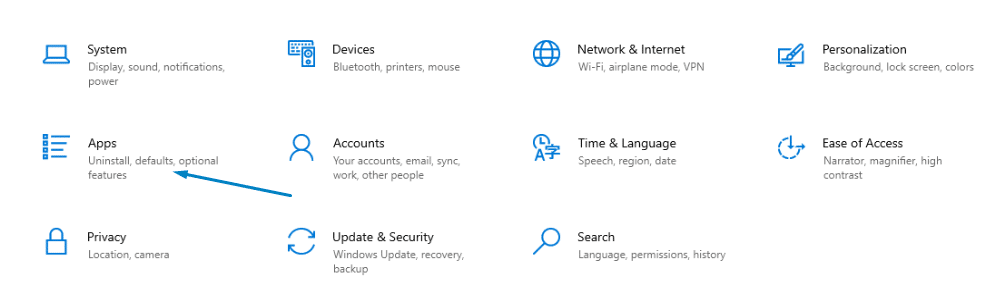
- Look for Apps, and click on it.
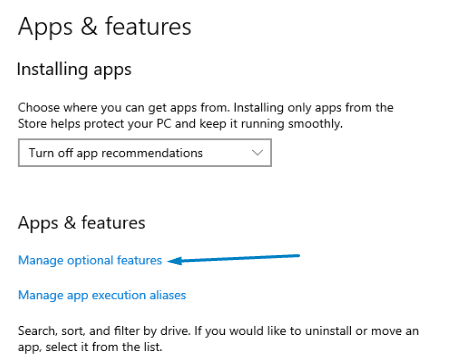
- In the Windows Server 2019 Apps and Features tab look for Manage Optional Features, and open it.
- Click on Add a Feature.
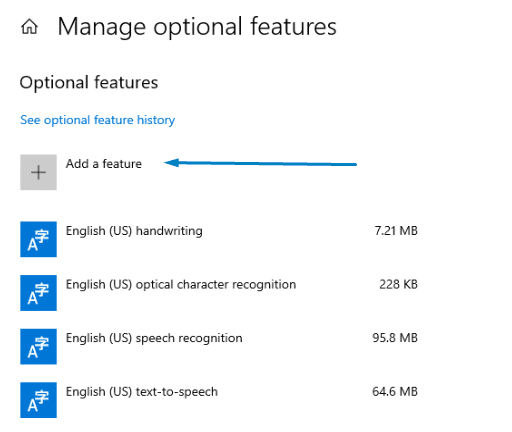
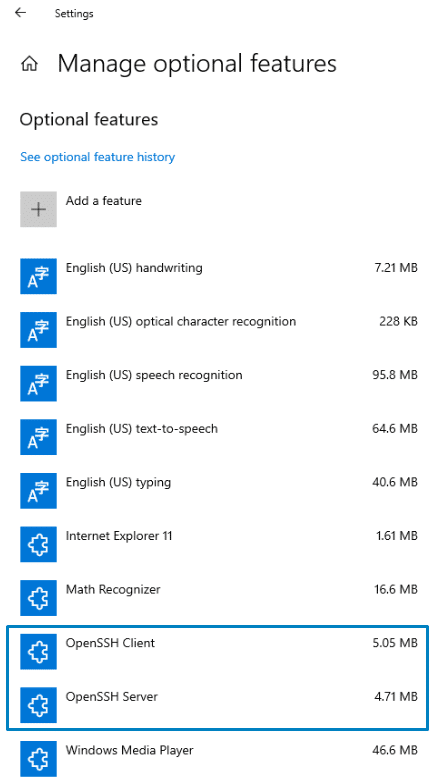
- Look for the OpenSSH Server feature and install it.

- You can check the status of the installation in the Manage Optional Feature tab, once installed it will show up there.
OpenSSH Installation Using PowerShell
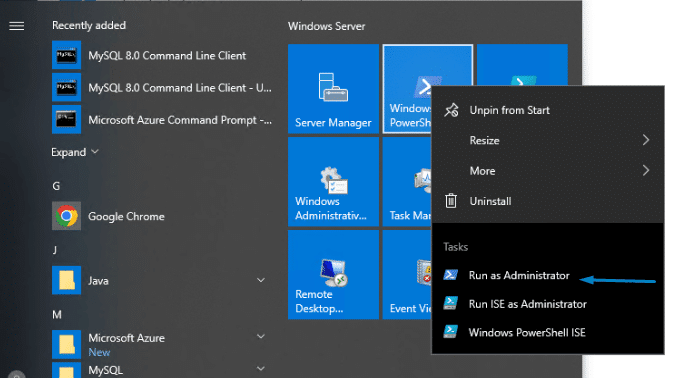
- Open PowerShell with Administrator privileges.
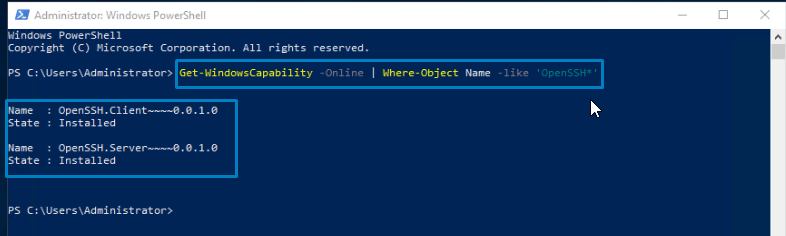
- Enter the given command to install the OpenSSH feature in the windows server. It will return the marked output.
Add-WindowsCapability -Online -Name OpenSSH.Client~~~~0.0.1.0
- Once it returns the Installed output start the OpenSSH service and give permission to start it automatically. Also, we are running a script to open local port 22 for OpenSSH.

Start-Service sshd
Set-Service -Name sshd -StartupType ‘Automatic’
if (!(Get-NetFirewallRule -Name “OpenSSH-Server-In-TCP” -ErrorAction SilentlyContinue | Select-Object Name, Enabled)) { Write-Output “Firewall Rule ‘OpenSSH-Server-In-TCP’ does not exist, creating it…” New-NetFirewallRule -Name ‘OpenSSH-Server-In-TCP’ -DisplayName ‘OpenSSH Server (sshd)’ -Enabled True -Direction Inbound -Protocol TCP -Action Allow -LocalPort 22 } else { Write-Output “Firewall rule ‘OpenSSH-Server-In-TCP’ has been created and exists.” }
Conclusion
That It OpenSSH service is installed for your Windows server 2019. Now use any SSH client software to connect the server. Let’s connect to the server using Powershell using the given command. Type in the password and voila you are connected to your windows server using OpenSSH. Contact our support if you face any issues.
ssh username@10.254.65.85

Deploy Your Own OpenSSH Windows Server today @ $ 23 only.