June 11, 2024

Take a Screenshot or Record Your Screen on a Microsoft Surface

mr rockstar

Take a Screenshot or Record Your Screen on a Microsoft Surface
Cheap Dedicated Server

Taking screenshots or recording your screen on a Microsoft Surface device is a straightforward process, whether you are using it for work, school, or personal use. Here’s a step-by-step guide on how to do both.

Taking a Screenshot

Method 1: Using Physical Buttons

  1. Locate the Power and Volume Up buttons:
    • On most Surface devices, the Power button is on the top edge, and the Volume buttons are on the side.
  2. Press the Power and Volume Up buttons simultaneously:
    • Hold them down for a second. You should see the screen flash, indicating that a screenshot has been taken.
  3. Find your screenshot:
    • Screenshots are automatically saved in the “Screenshots” folder inside the “Pictures” library.

Method 2: Using the Surface Pen

  1. Double-click the top button on your Surface Pen:
    • If you have a Surface Pen, double-click the eraser button on top. This action captures the entire screen.
  2. Edit and save your screenshot:
    • The screenshot will open in OneNote where you can edit, annotate, and save it as needed.

Method 3: Using Keyboard Shortcuts

  1. Press Windows + Shift + S:
    • This keyboard shortcut opens the Snip & Sketch tool.
    • You can select the area of the screen you want to capture.
    • Snipping Tools
  2. Choose your snip type:
    • Rectangular snip: Draw a rectangle around the area.
    • Freeform snip: Draw freeform around the area.
    • Window snip: Select a specific window.
    • Fullscreen snip: Capture the entire screen.
  3. Edit and save:
    • Once you snip, the screenshot is copied to your clipboard, and you can edit it in the Snip & Sketch tool and save it to your desired location.

Recording Your Screen

Using Xbox Game Bar

  1. Open Xbox Game Bar:
    • Press Windows + G to open the Xbox Game Bar.
  2. Start recording:
    • Click on the “Capture” widget (it looks like a camera).
    • Click the record button to start recording your screen. You can also use Windows + Alt + R to start recording immediately.
  3. Stop recording:
    • Click the stop button in the Capture widget, or use Windows + Alt + R again.
  4. Find your recordings:
    • Screen recordings are saved in the “Captures” folder inside the “Videos” library.

Using Microsoft PowerPoint

  1. Open PowerPoint:
    • Go to the “Insert” tab and select “Screen Recording”.
  2. Select the area to record:
    • Click “Select Area” and drag to select the area you want to record.
  3. Start recording:
    • Click the “Record” button. You can use Windows + Shift + Q to stop the recording.
  4. Save the recording:
    • The recording will be inserted into your PowerPoint slide. Right-click on it and select “Save Media As” to save it as a video file.

Conclusion

Whether you need to capture a quick screenshot or record a tutorial, your Microsoft Surface offers versatile options to get the job done. With physical buttons, the Surface Pen, keyboard shortcuts, and built-in software, you have multiple tools at your disposal to create and manage your screen captures effectively.

Take a Screenshot or Record Your Screen on a Microsoft Surface (F.A.Q)

How can I take a screenshot on my Surface without using physical buttons?

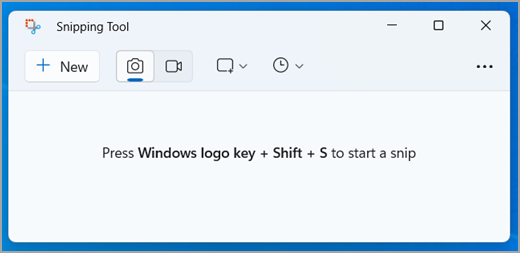
You can use the Windows + Shift + S keyboard shortcut to open the Snip & Sketch tool. This allows you to capture a selected area of the screen. The screenshot will be copied to your clipboard, where you can paste it into an application or save it using the Snip & Sketch editor.

Where are my screenshots saved on a Surface device?

Screenshots taken using physical buttons or the Windows + PrtScn shortcut are saved in the “Screenshots” folder inside the “Pictures” library. Screenshots taken with the Snip & Sketch tool need to be saved manually after editing.

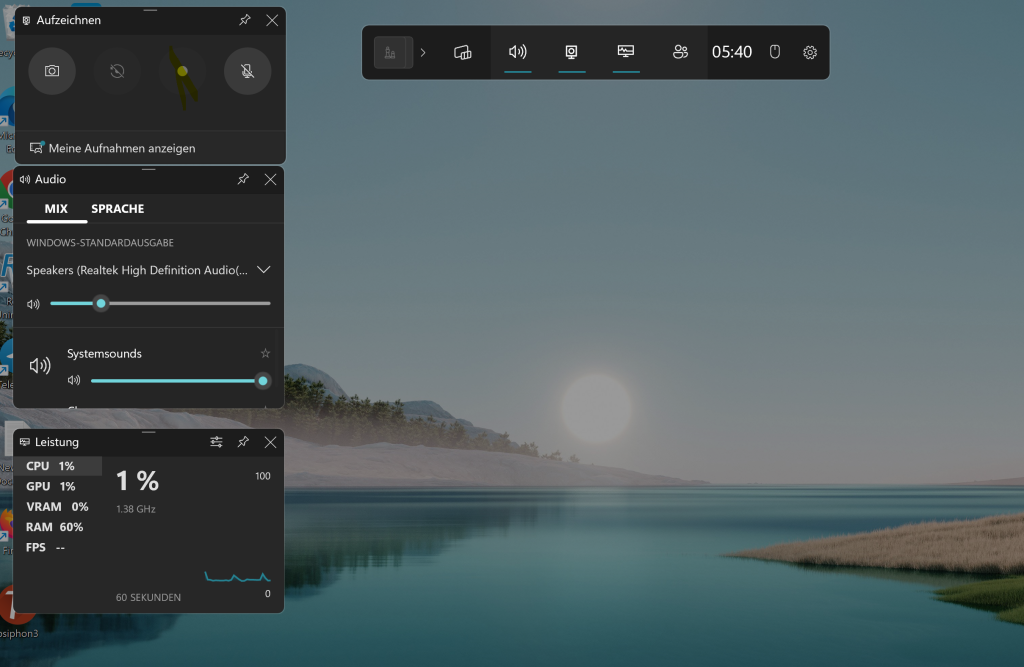
How do I start and stop screen recording with the Xbox Game Bar?

To start recording, press Windows + G to open the Xbox Game Bar, then click on the “Capture” widget and hit the record button. To stop recording, click the stop button in the Capture widget or press Windows + Alt + R again. Recordings are saved in the “Captures” folder inside the “Videos” library.

Can I edit my screen recordings directly after capturing them on a Surface?

Yes, after capturing your screen with the Xbox Game Bar, you can use the built-in Video Editor in Windows or other third-party video editing software to edit your recordings. To access the Video Editor, search for “Video Editor” in the Windows Start menu.

Popular Blog Posts