Internet Information Services (IIS, formerly Internet Information Server) is extensible Web server software developed by Microsoft for use on the Windows NT family. IIS supports HTTP, HTTP/2, HTTPS, FTP, FTPS, SMTP, and NNTP. It has been an integral part of the Windows NT family since Windows NT 4.0, but may not be present in some editions (such as Windows XP Home Edition) and is not active by default. In the last tutorial, we saw how to configure IIS on Windows Server 2019. In this tutorial, we are going to see how to add a static website to replace the IIS default webpage. Using this method you can easily deploy your webpage within a matter of seconds.
Add A Static Website On IIS
- Firstly, log in to your 99RDP Dedicated Server.
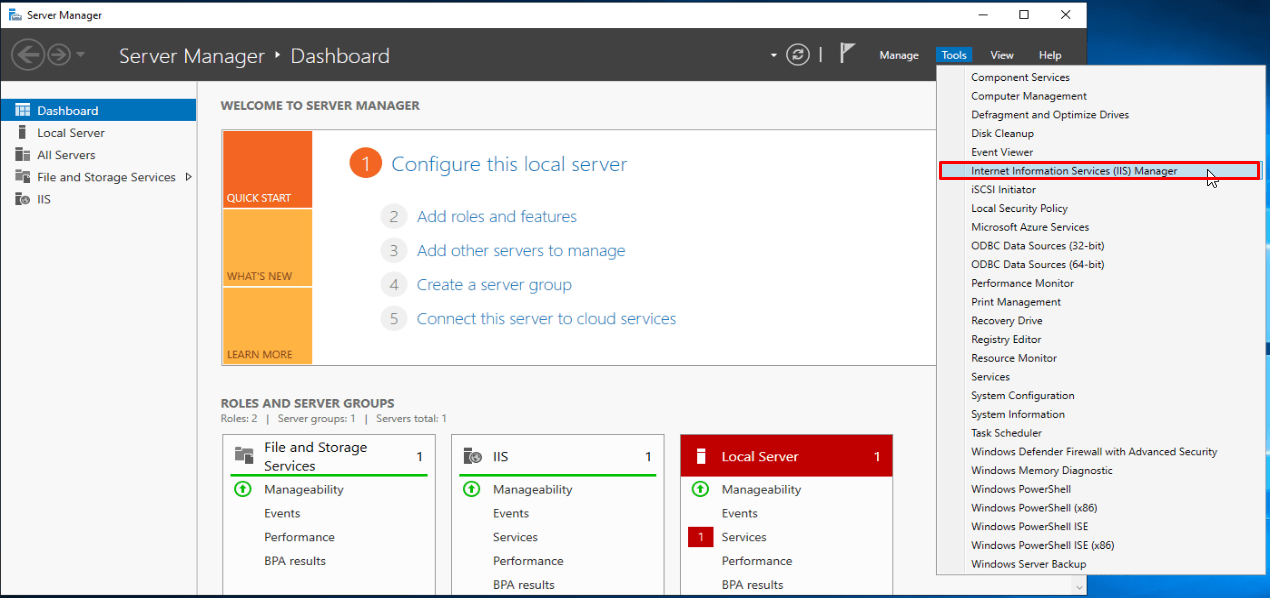
- From the Server Manager application open the IIS services.
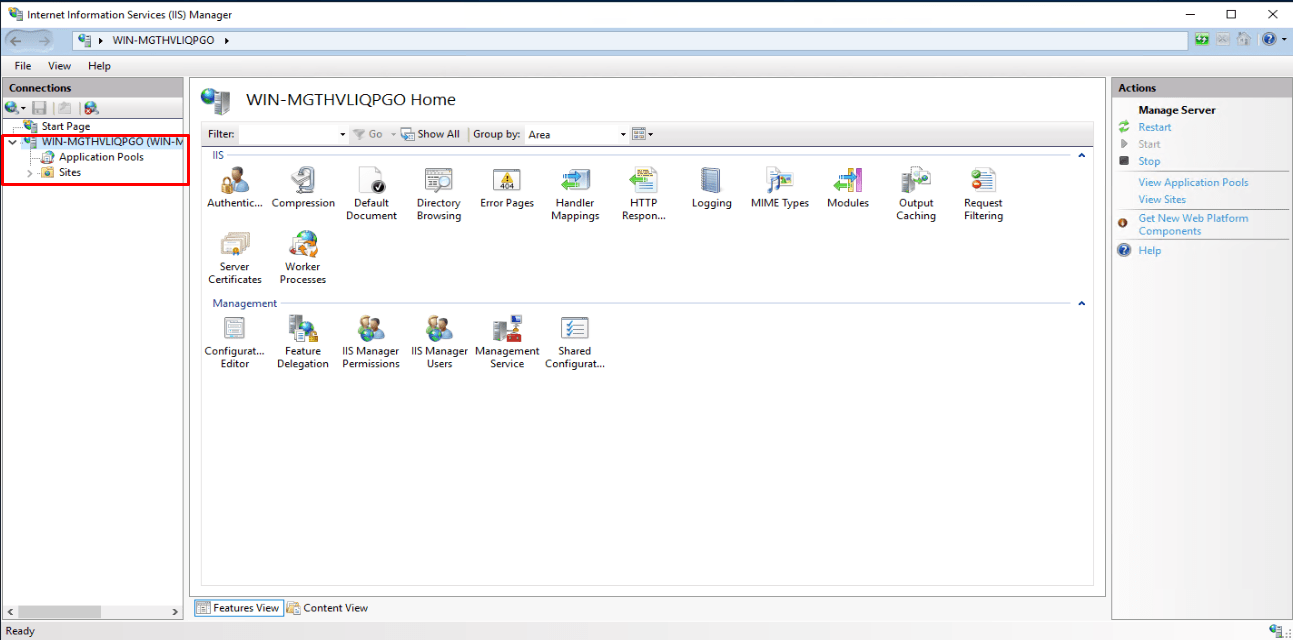
- Once the IIS service is opened expand the default Web Server.
- Right-click the Default website to manage its files.
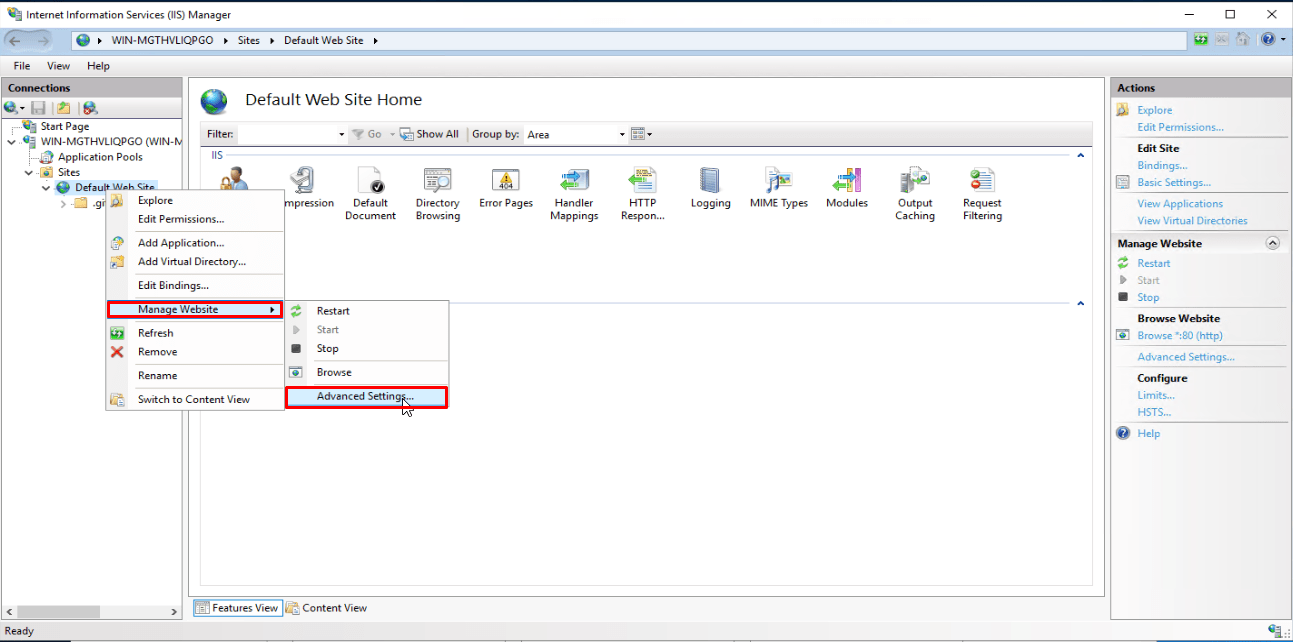
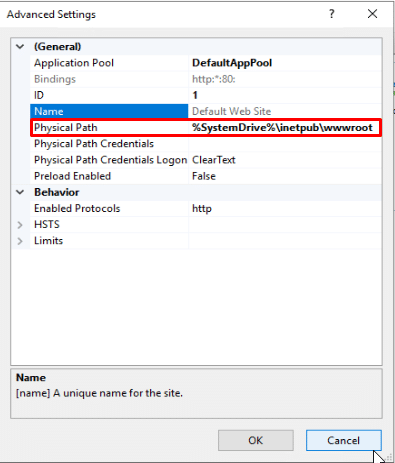
- In the Manage Website option Advanced Setting you can check the default files of the website which are being hosted currently. The path would be “%SystemDrive%\inetpub\wwwroot”.
- Visit the path “%SystemDrive%\inetpub\wwwroot” to edit the default page.
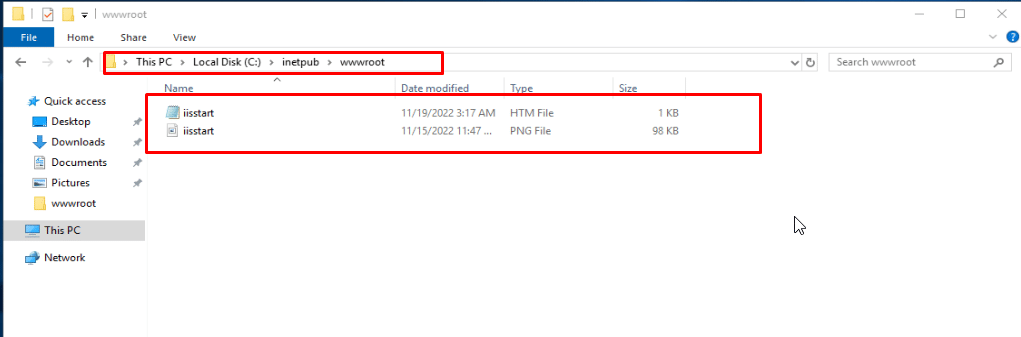
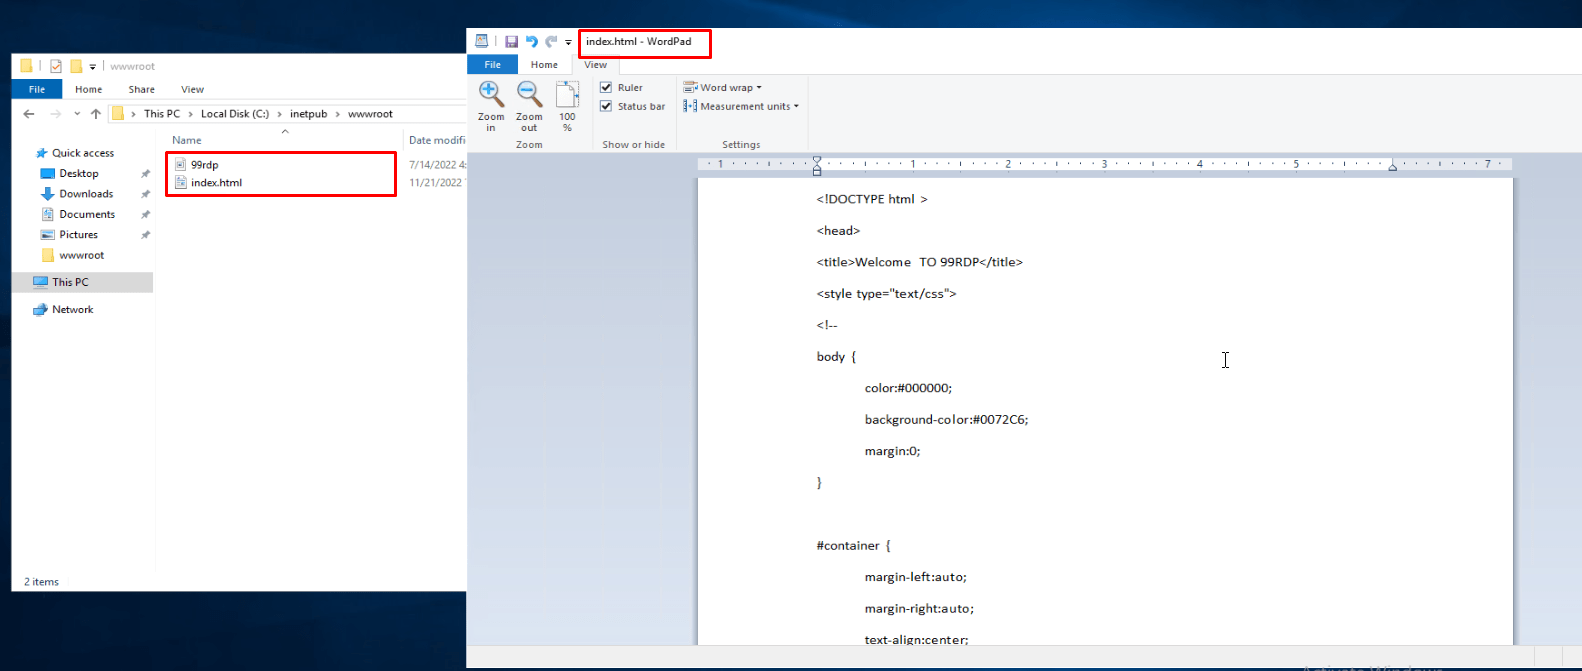
- These are the HTML files hosted with the Default IIS Web Server. You can edit those files as per your need. Or can replace the file with your website source code and it will display it for the server IP.
- Finally, let’s check our new static website by visiting the server IP in your browser for me it’s “http://147.124.215.141/”.

Conclusion
At last, these are the basic steps to add a static website on IIS web server, in the next tutorial we will talk about how to add a new website to the IIS web server defining the local directory path, hostname, and the port for the Internet. We will also take a look at publishing web apps in .net.
Choose Your Own Web Server With 99RDP Dedicated Server @ $ 59 Only.


