
The Windows VPS firewall is a critical component of your server’s security. It acts as a barrier, preventing unauthorized access to your server. However, there are situations where you need to allow access through specific ports to run applications, services, or host a website. In this guide, we’ll walk you through the process of allowing access through a port in the Windows VPS firewall.
To allow the program or process to communicate via a port, we must open a port on the Windows VPS firewall. Ports, as the name implies, are the gateway for server input and should thus be watched. Furthermore, due to the possibility of unwanted access to the server, only the necessary ports should be inside the server.
Understanding Windows VPS Firewall
Before we dive into the specifics, let’s clarify what the Windows VPS firewall is. The Windows Firewall is a built-in security feature that regulates incoming and outgoing network traffic. It’s designed to protect your server from potential threats and unwanted network access.
Identifying the Port to Be Opened
The first step in allowing access through a port is identifying which port you need to open. Ports are like virtual doors that applications and services use to communicate over the network. Common ports include 80 for HTTP, 443 for HTTPS, and 22 for SSH.
Methods for Opening a Port on a Windows VPS
There are three methods for opening a port on the Windows VPS firewall, and they will be examined one by one in this topic.
- CMD (Command Line)
- Windows Firewall
- Microsoft PowerShell
CMD is used to open a port on the Windows VPS Firewall.
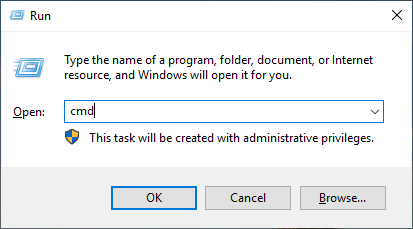
- Open Run by pressing Windows key + R, then input CMD and press OK.
2 .Now, try this code.
<code>netsh advfirewall firewall add rule name=”Port 20875″ dir=in action=allow protocol=TCP localport=20875
In the name area, type your preferred port name, and in the local port part, type the number of the port you want to open.
ALSO READ : How to Execute a Command on Linux After Boot or Startup?

3.Reboot the server to have the changes take effect.
Open A Port On The Windows VPS Firewall Using The Windows Firewall GUI
Understanding Windows Firewall
Windows Firewall is a built-in security feature that plays a crucial role in safeguarding your Windows VPS. It acts as a barrier between your server and the internet, monitoring incoming and outgoing network traffic. Properly configuring the Windows Firewall is vital for allowing specific services and applications to communicate while blocking unauthorized access.
Accessing Windows Firewall GUI
To begin configuring your Windows VPS firewall, you need to access the Windows Firewall GUI. Follow these steps:
- Click the Start Button: In the Windows taskbar, click the Start button, typically located in the lower-left corner.
- Search for “Windows Defender Firewall”: Begin typing “Windows Defender Firewall” in the search bar.
- Select “Windows Defender Firewall with Advanced Security”: Click on the search result to open the Windows Firewall GUI.
Identifying the Port to Open
Before proceeding, you must identify the specific port you want to open on your Windows VPS. Ports are essential for communication between your server and various services or applications. Some common ports include 80 for web traffic (HTTP) and 443 for secure web traffic (HTTPS).
Adding a New Inbound Rule
To open a port, you need to create a new inbound rule in the Windows Firewall GUI:
- In the Windows Firewall GUI: On the left-hand side, select “Inbound Rules.”
- Click “New Rule…”: In the Actions pane on the right, click “New Rule” to open the New Inbound Rule Wizard.
- Choose “Port” as the Rule Type: Select “Port” and click “Next.”
Configuring Rule Settings
Now, configure the rule settings:
- Specify the Port Number: Enter the port number you want to open (e.g., 80 for HTTP).
- Choose the Action: Select “Allow the connection” to permit traffic through the specified port.
- Specify Protocols: Decide whether the rule applies to TCP, UDP, or both. It’s advisable to configure rules for the specific protocol your application uses.
Testing the Port
Once you’ve created the rule, it’s essential to verify if the port is open and functioning correctly. There are various tools and methods available for testing, ensuring that your server is accessible through the specified port.
PowerShell is used to open a port on the Windows VPS Firewall.
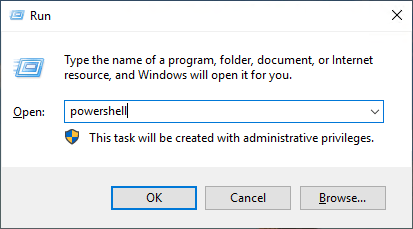
- To begin, hit Windows key + R, type PowerShell, and then press OK.
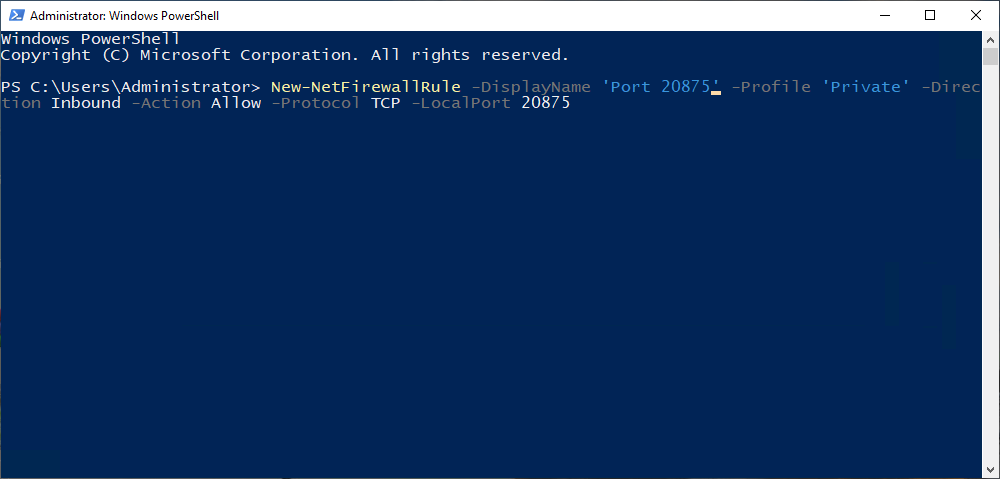
2. You should use this command to open the port.
<code>New-NetFirewallRule -DisplayName “Port 20875” -Direction inbound -LocalPort 20875 -Protocol TCP -Action Allow
You should enter your chosen port name in the -DisplayName area, and the number of the port you wish to open in the -LocalPort part.
3.The server should then be restarted to apply the changes.
Security Considerations
While opening ports is necessary for certain applications, it’s essential to follow security best practices. Limit access to ports only to trusted sources, regularly review and update your firewall rules, and monitor network traffic for unusual activity.
ALSO READ : How to Download any Video from any Website on Chrome for FREE 2023
Third-Party Firewall Software
In addition to the built-in Windows Firewall, you may choose to use third-party firewall software for more advanced features and control over your server’s security. Popular options include ZoneAlarm, Norton, and McAfee.
Conclusion
Allowing access through a port in the Windows VPS firewall is a fundamental skill for server administrators. By following the steps outlined in this guide, you can ensure that your applications and services function as intended while maintaining the security of your server.
There are three methods for opening a port on the Windows VPS firewall. You can use any of the steps listed above to accomplish this. Remember that ports are sensitive gateways on the server, therefore secure any ports you open and shut any ports you don’t require.


